Wardrobe Guide – What To Wear For Engagement Photos
We will have specific recommendations depending on the location that you choose. However, we want you to wear clothing that showcases your personality. It’s all about styling and planning. The more time you invest in selecting a wardrobe for your photo shoot, the happier you will be with the results. Leaving the details to the last minute creates stress and takes the fun out of the day. Don’t hesitate to consult with us on options for colors and accessories.
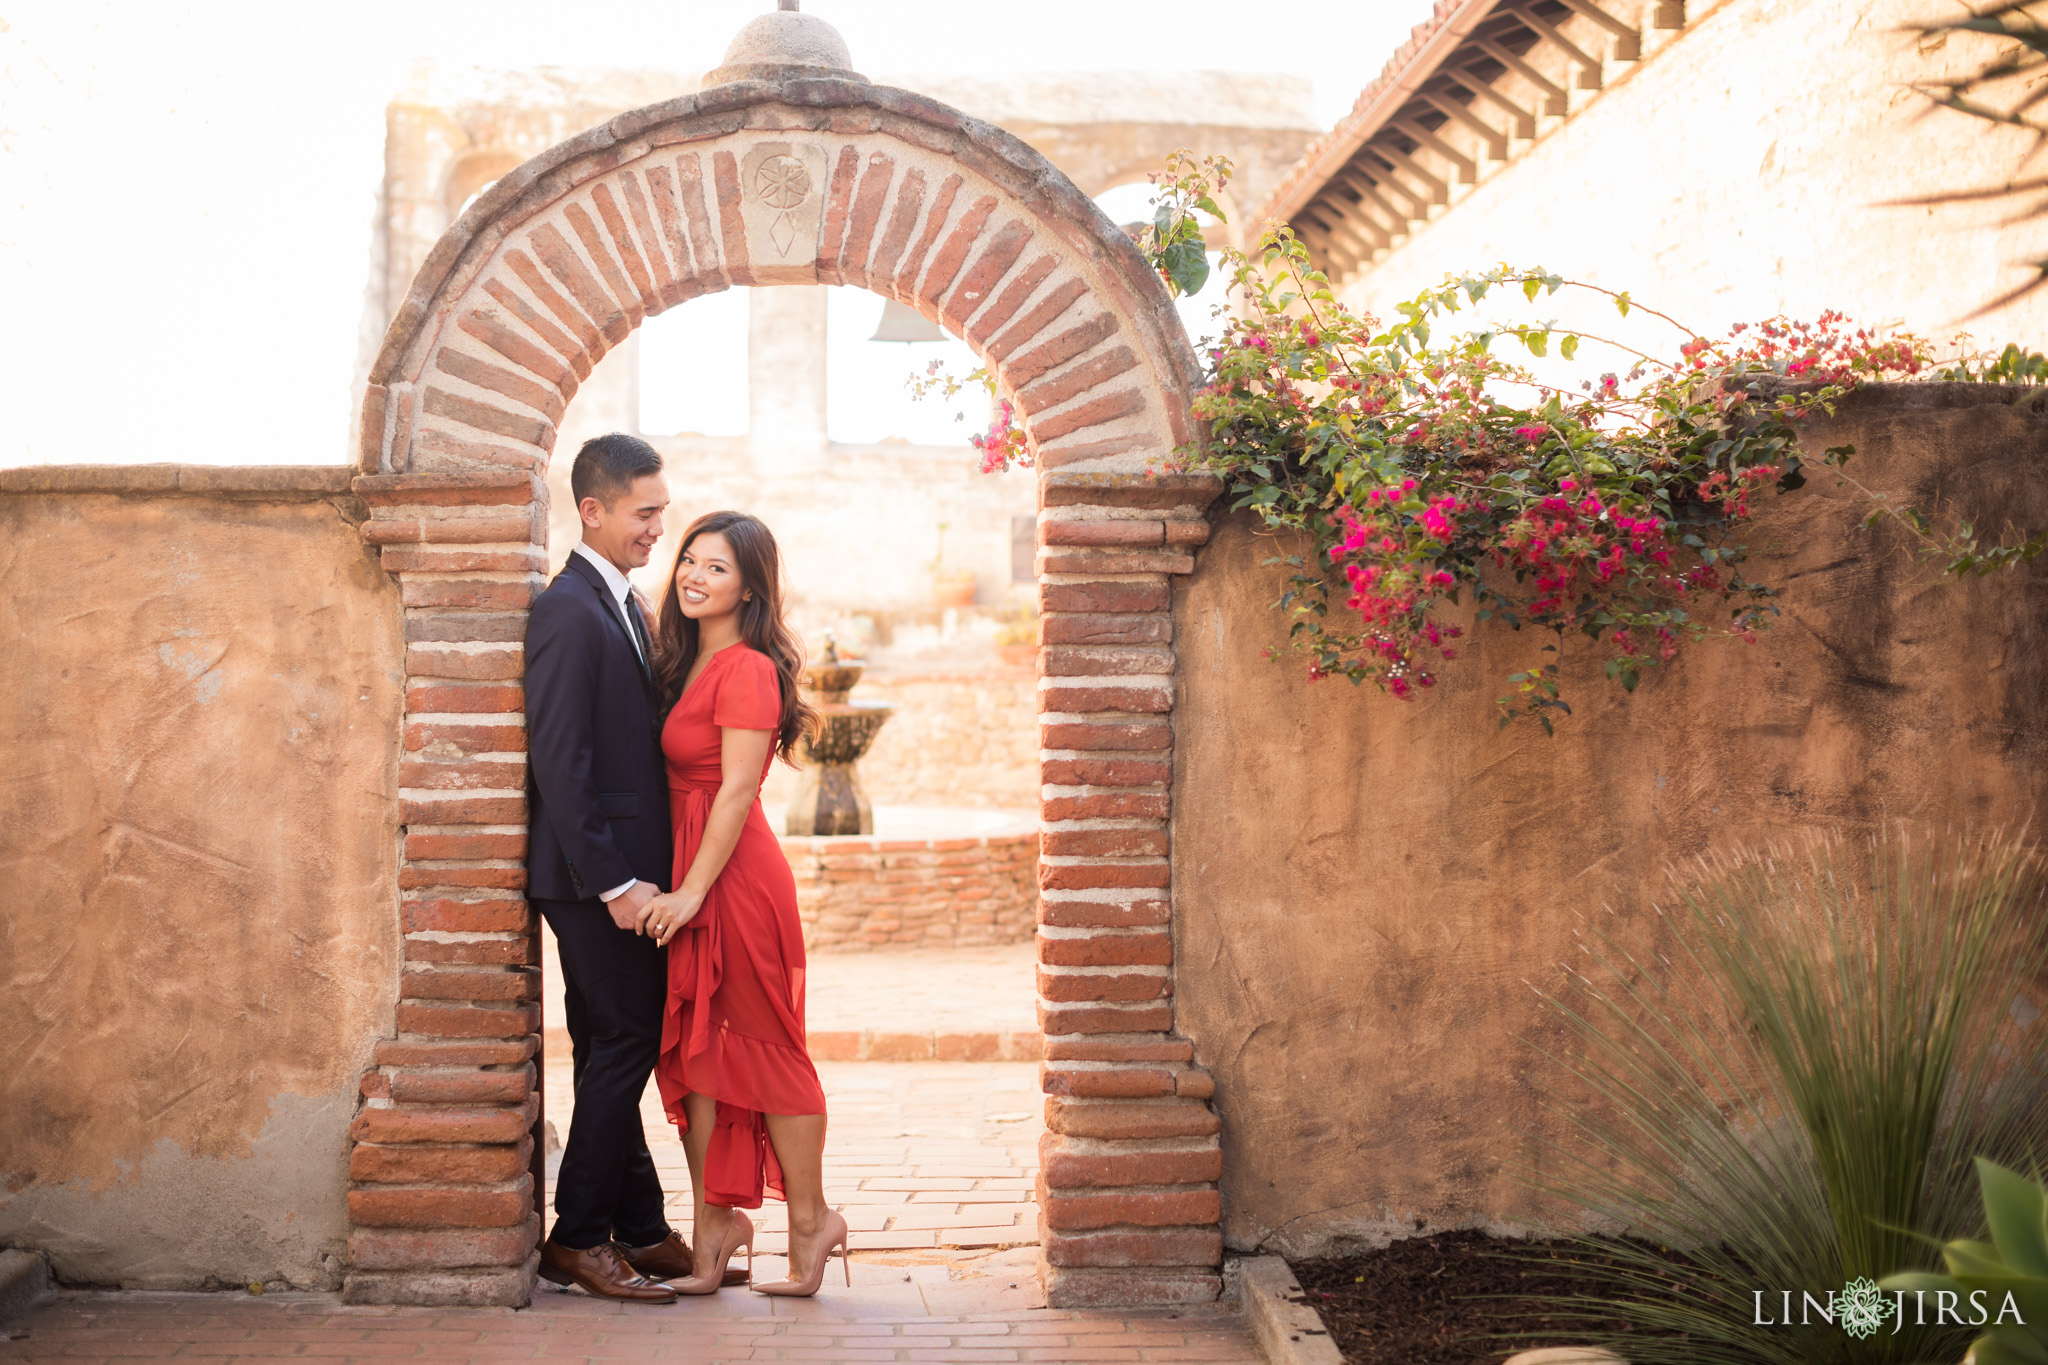
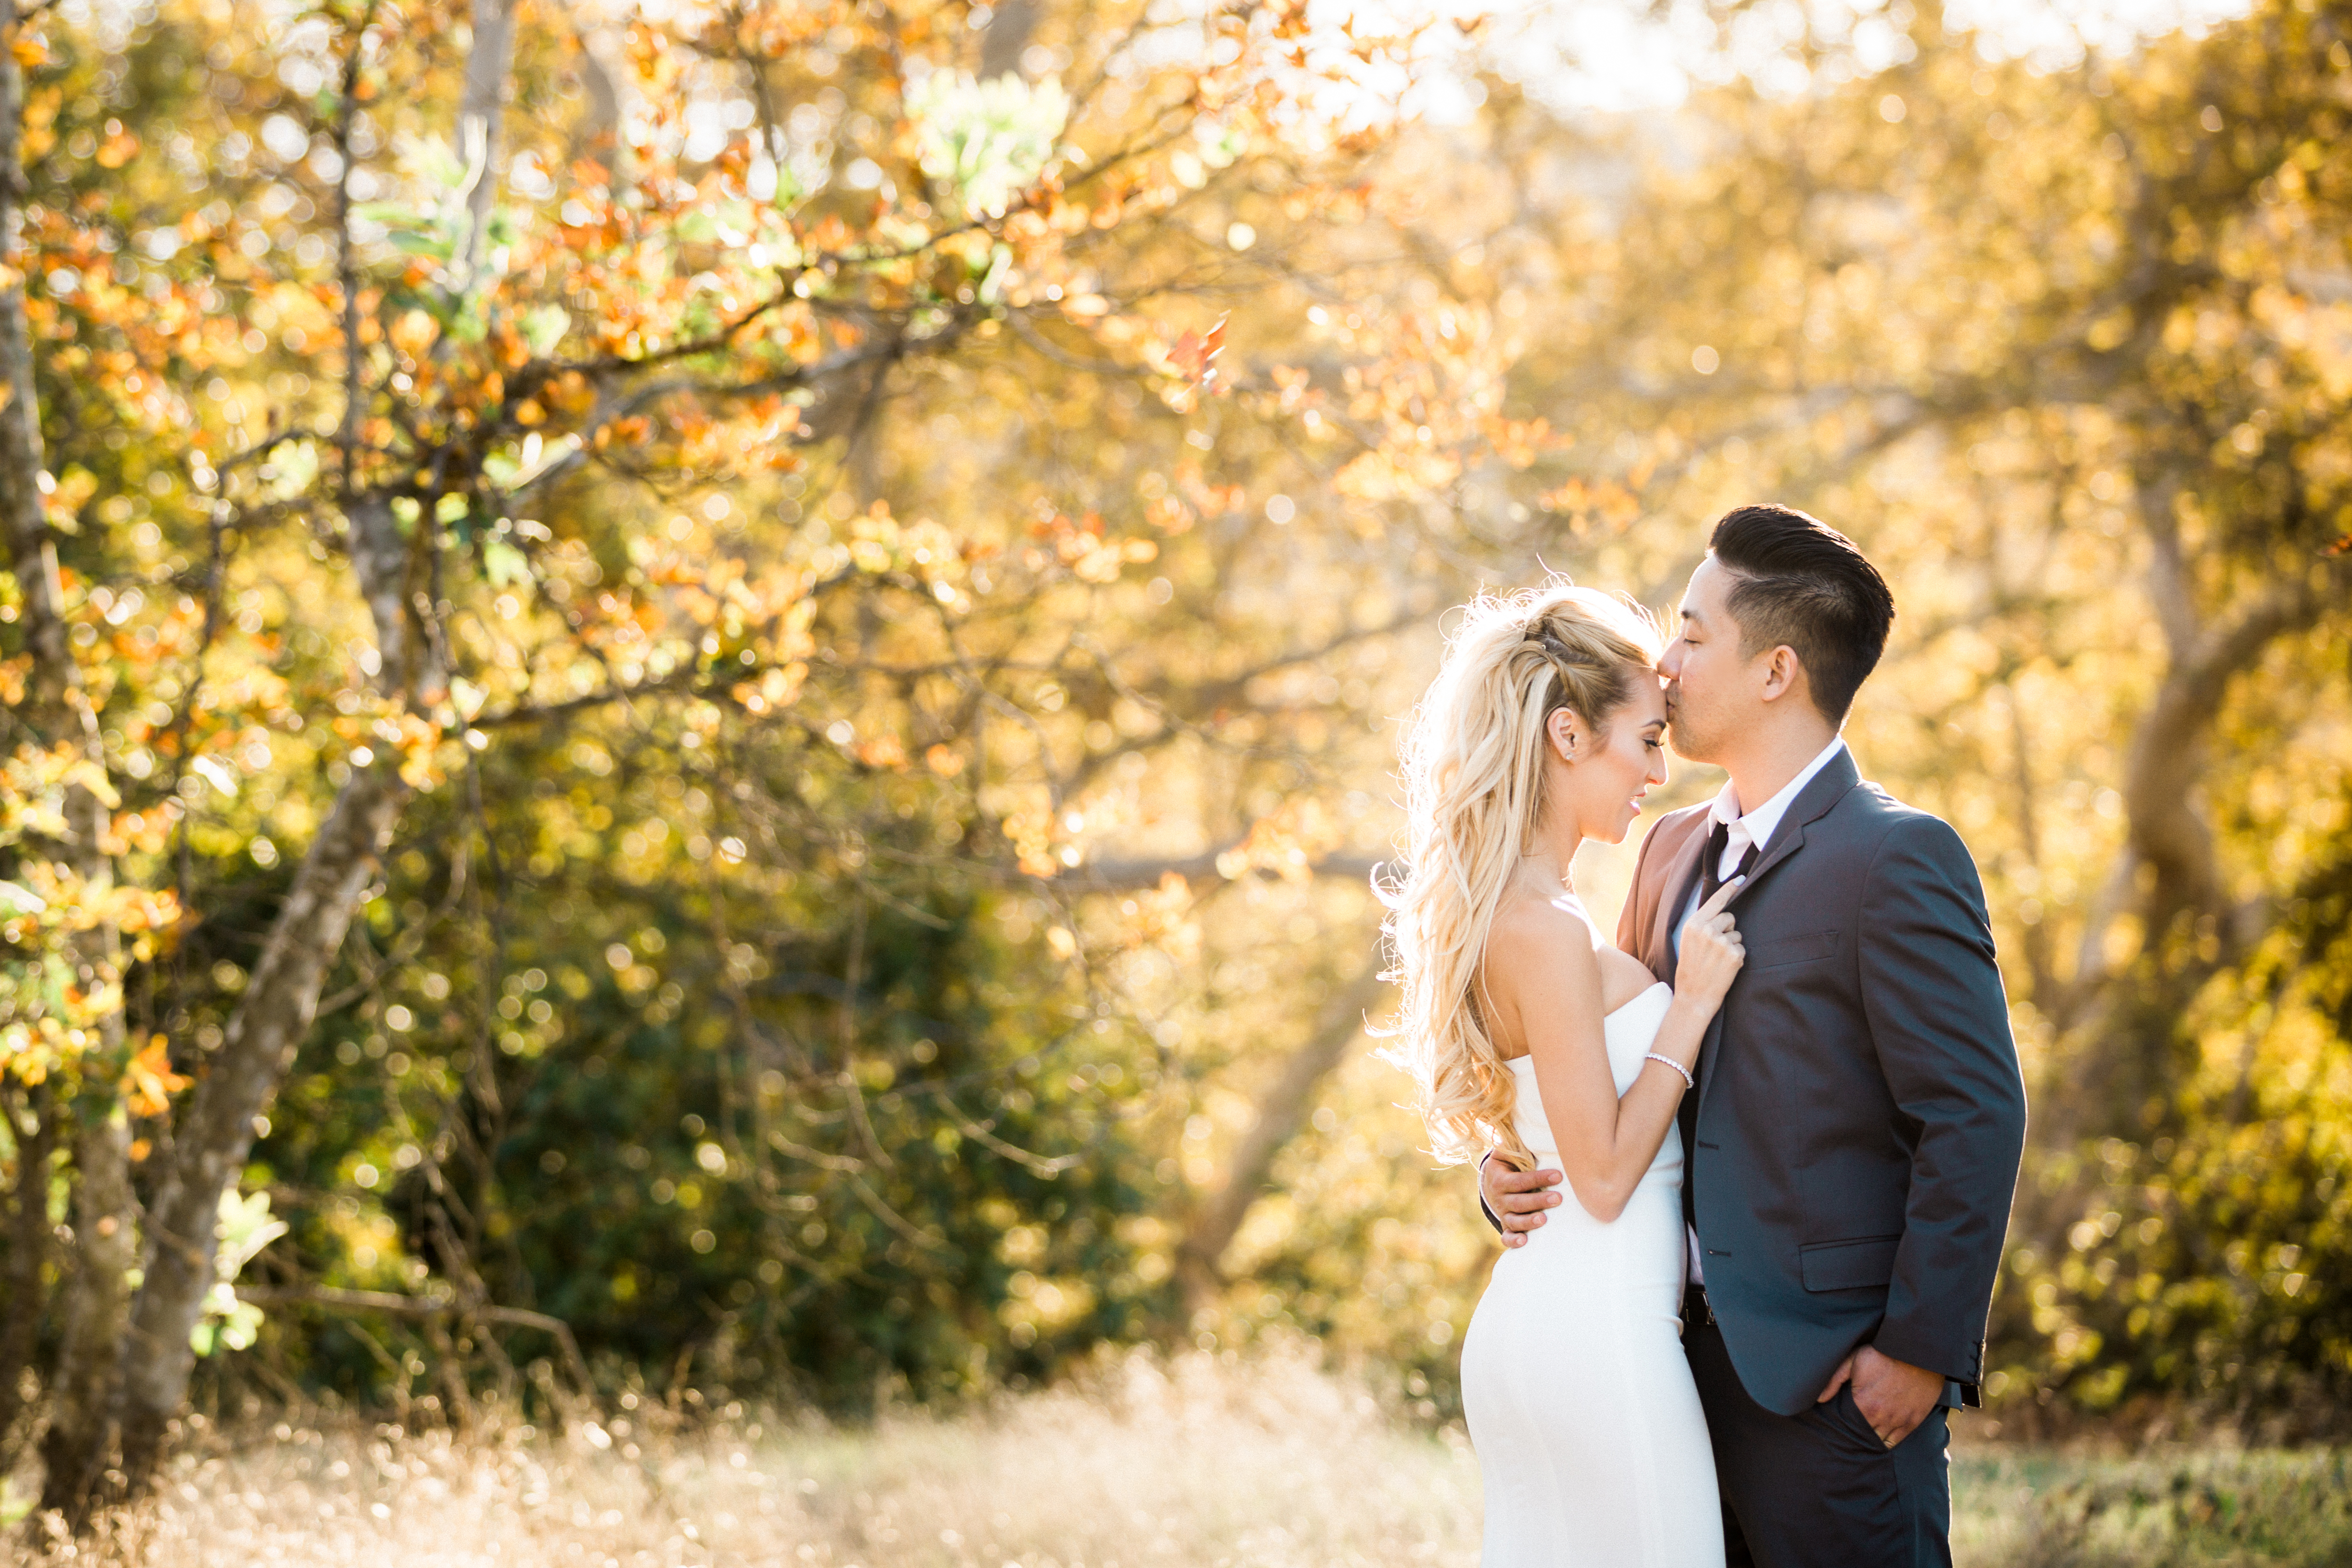
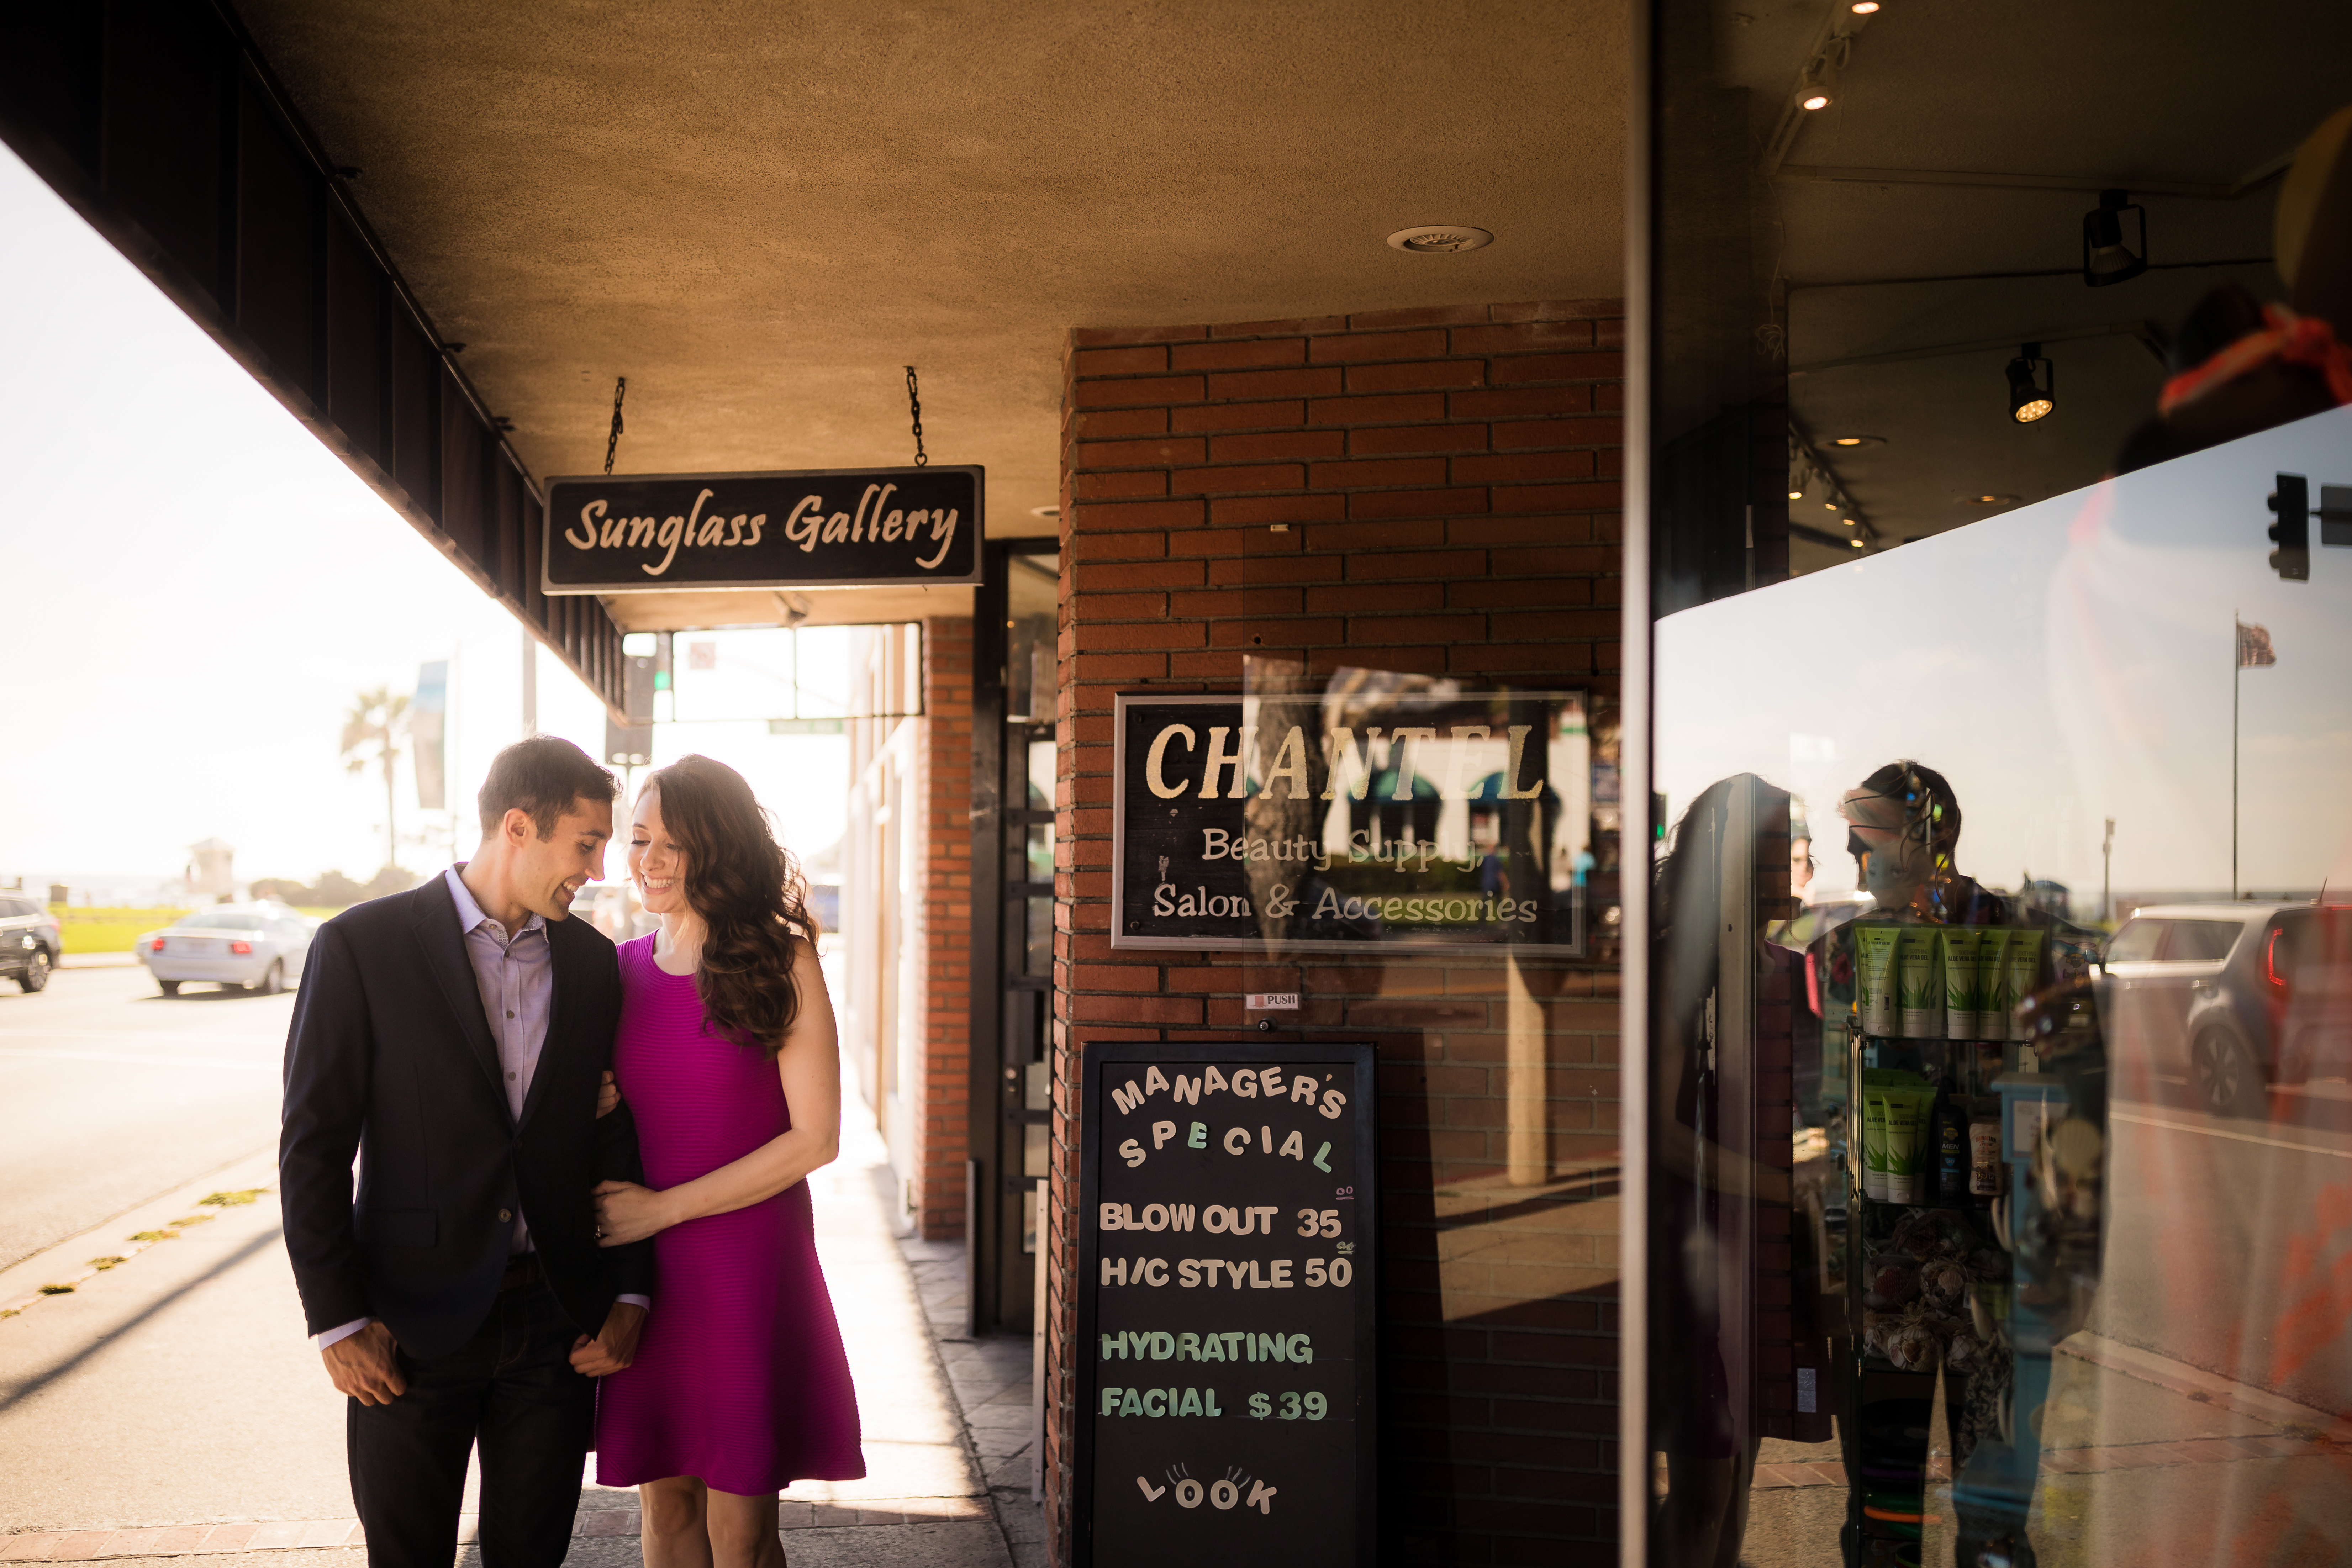
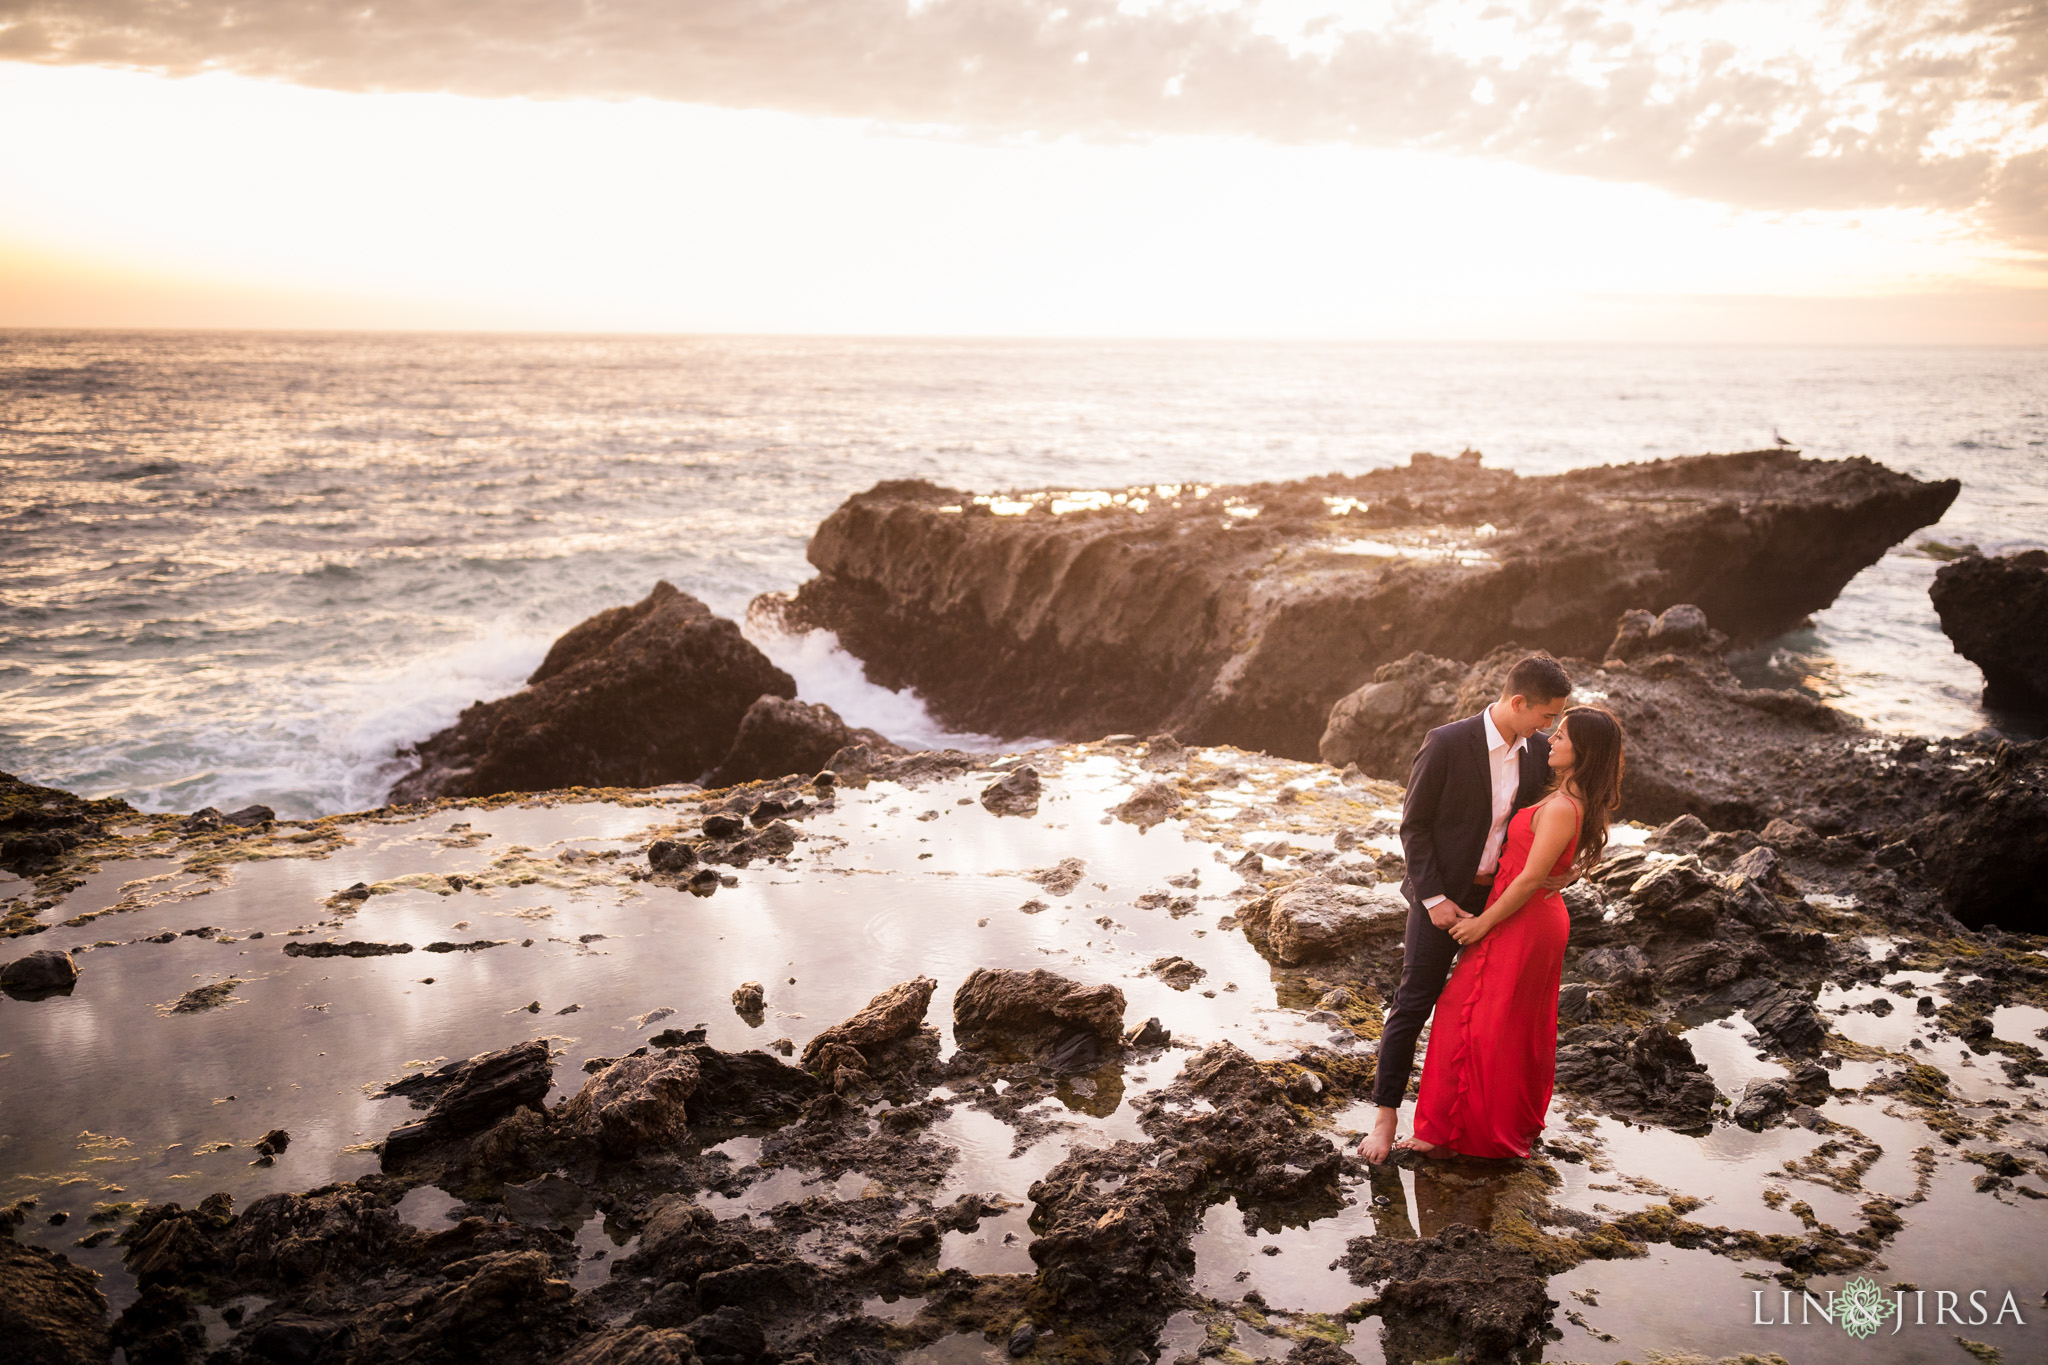
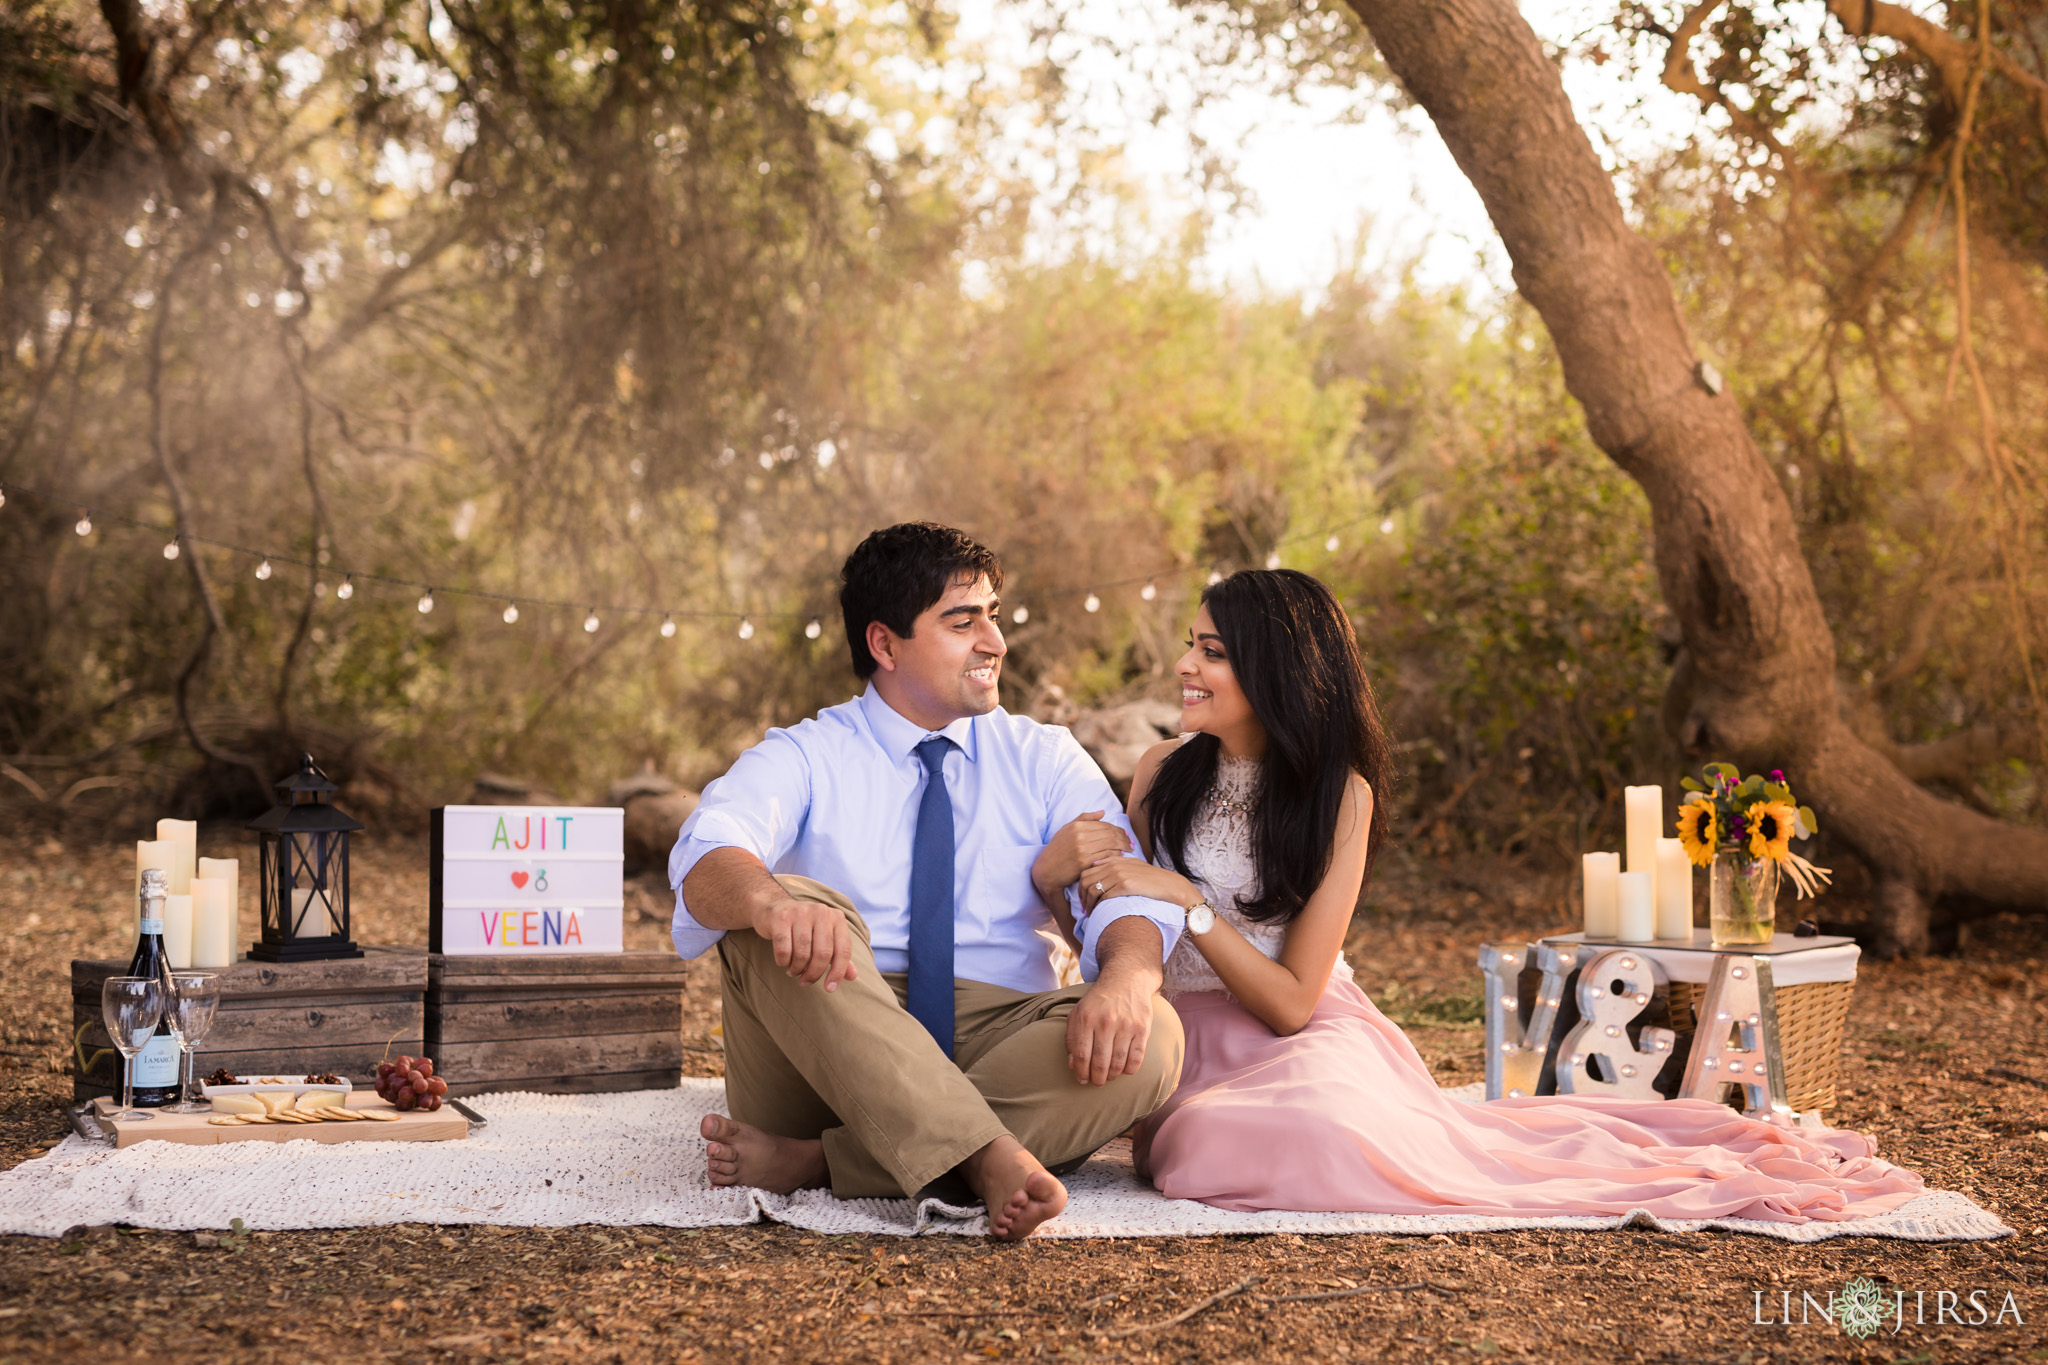
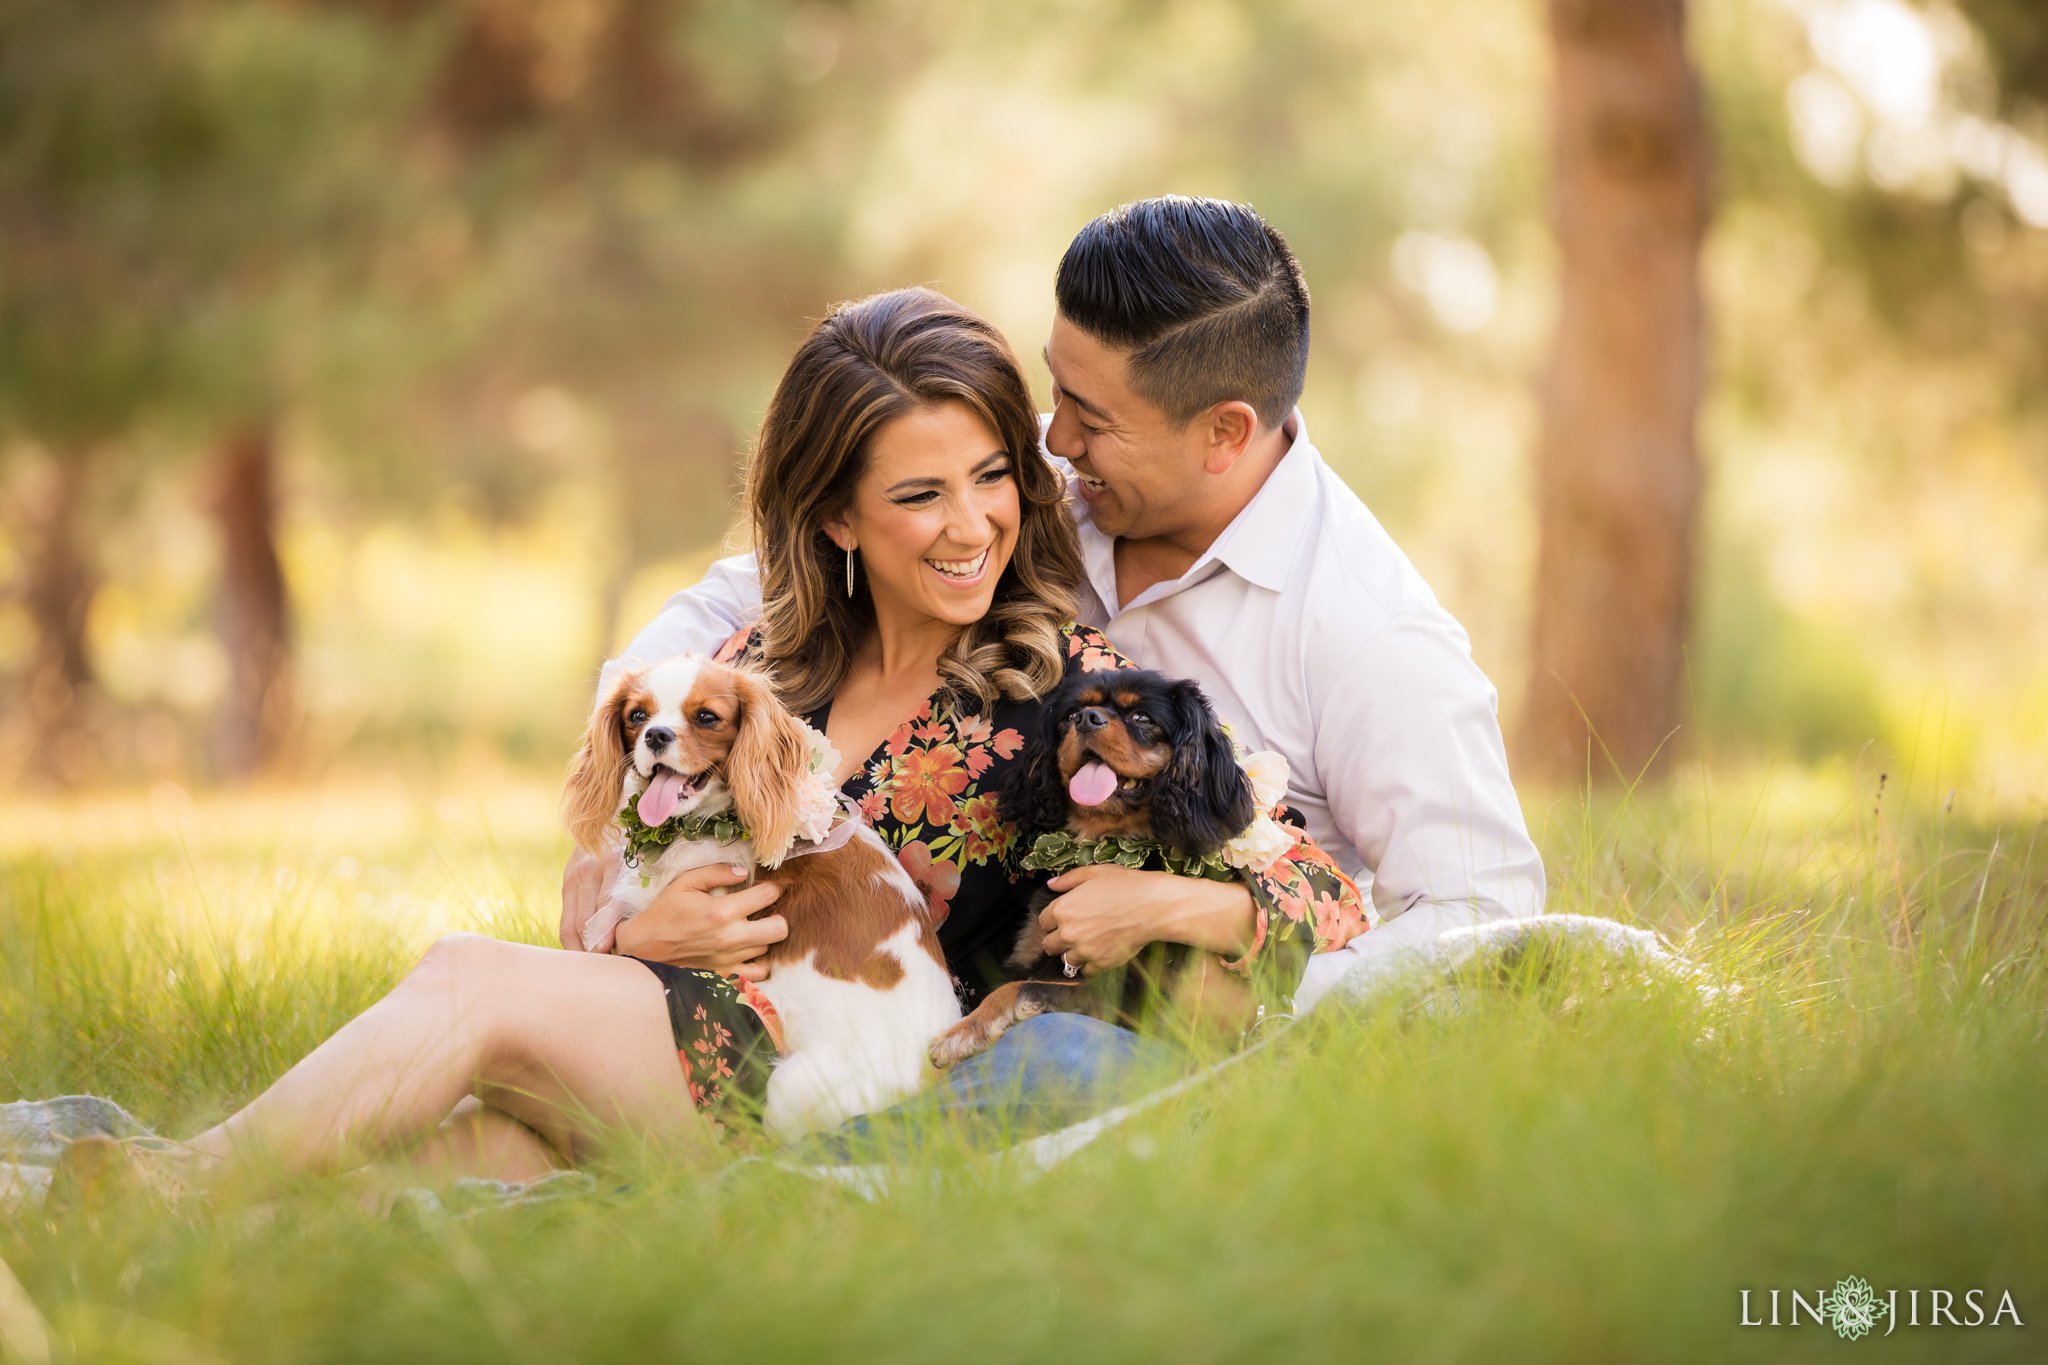
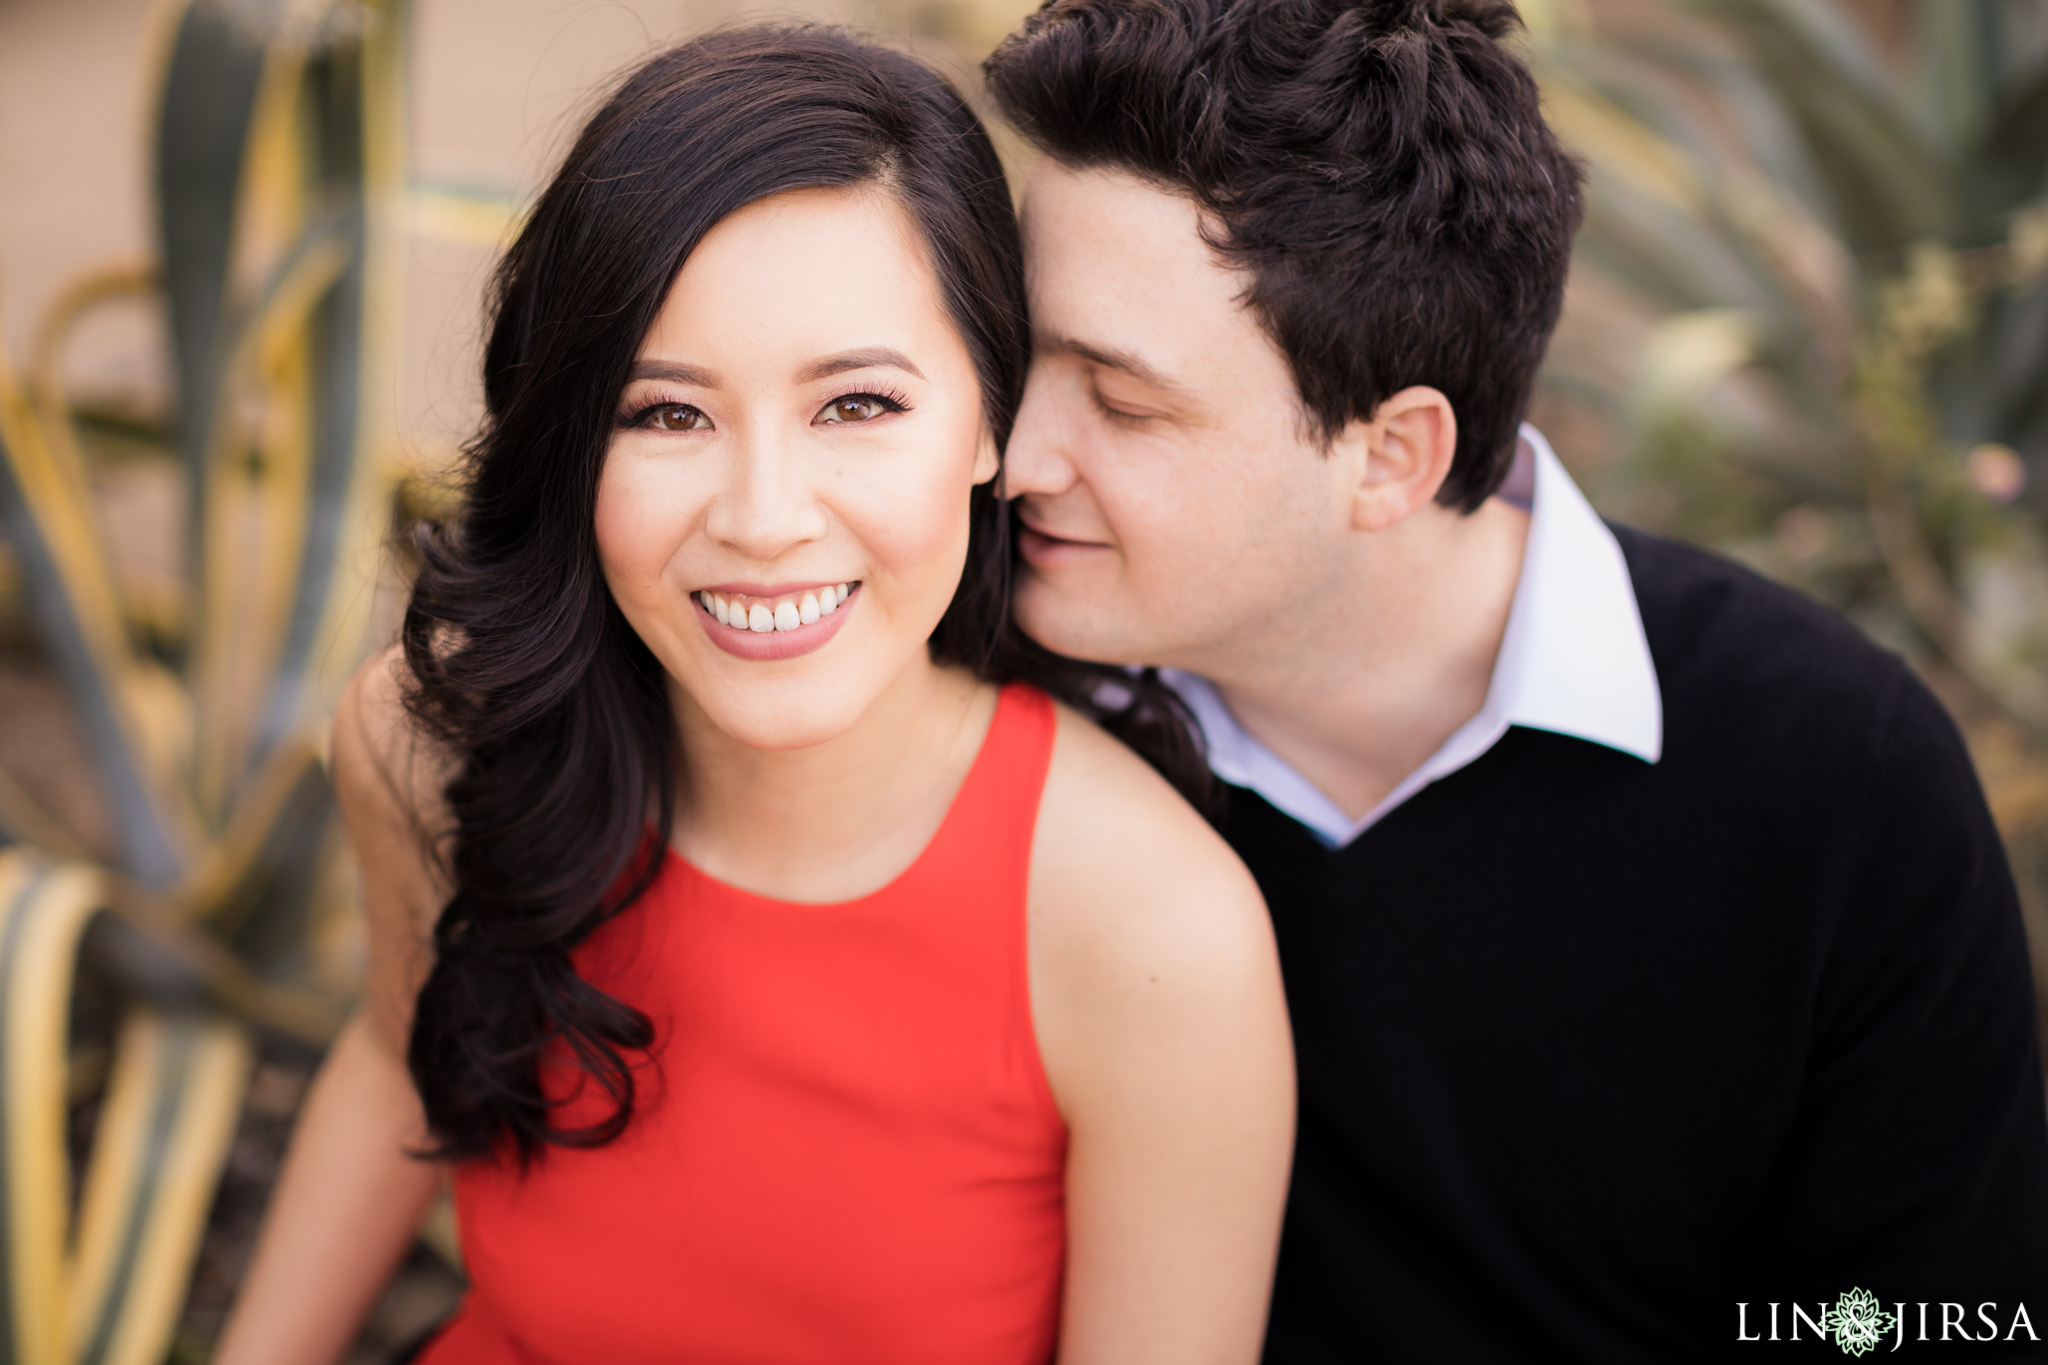
Dress: As a general rule, wear solid colors, as stripes and patterns draw attention away from your face. Avoid wearing turtlenecks and large loose clothing, as these often make the neck seem nonexistent, and the body looks wider than it is. Shorts or capris have a tendency to make legs appear shorter than they are.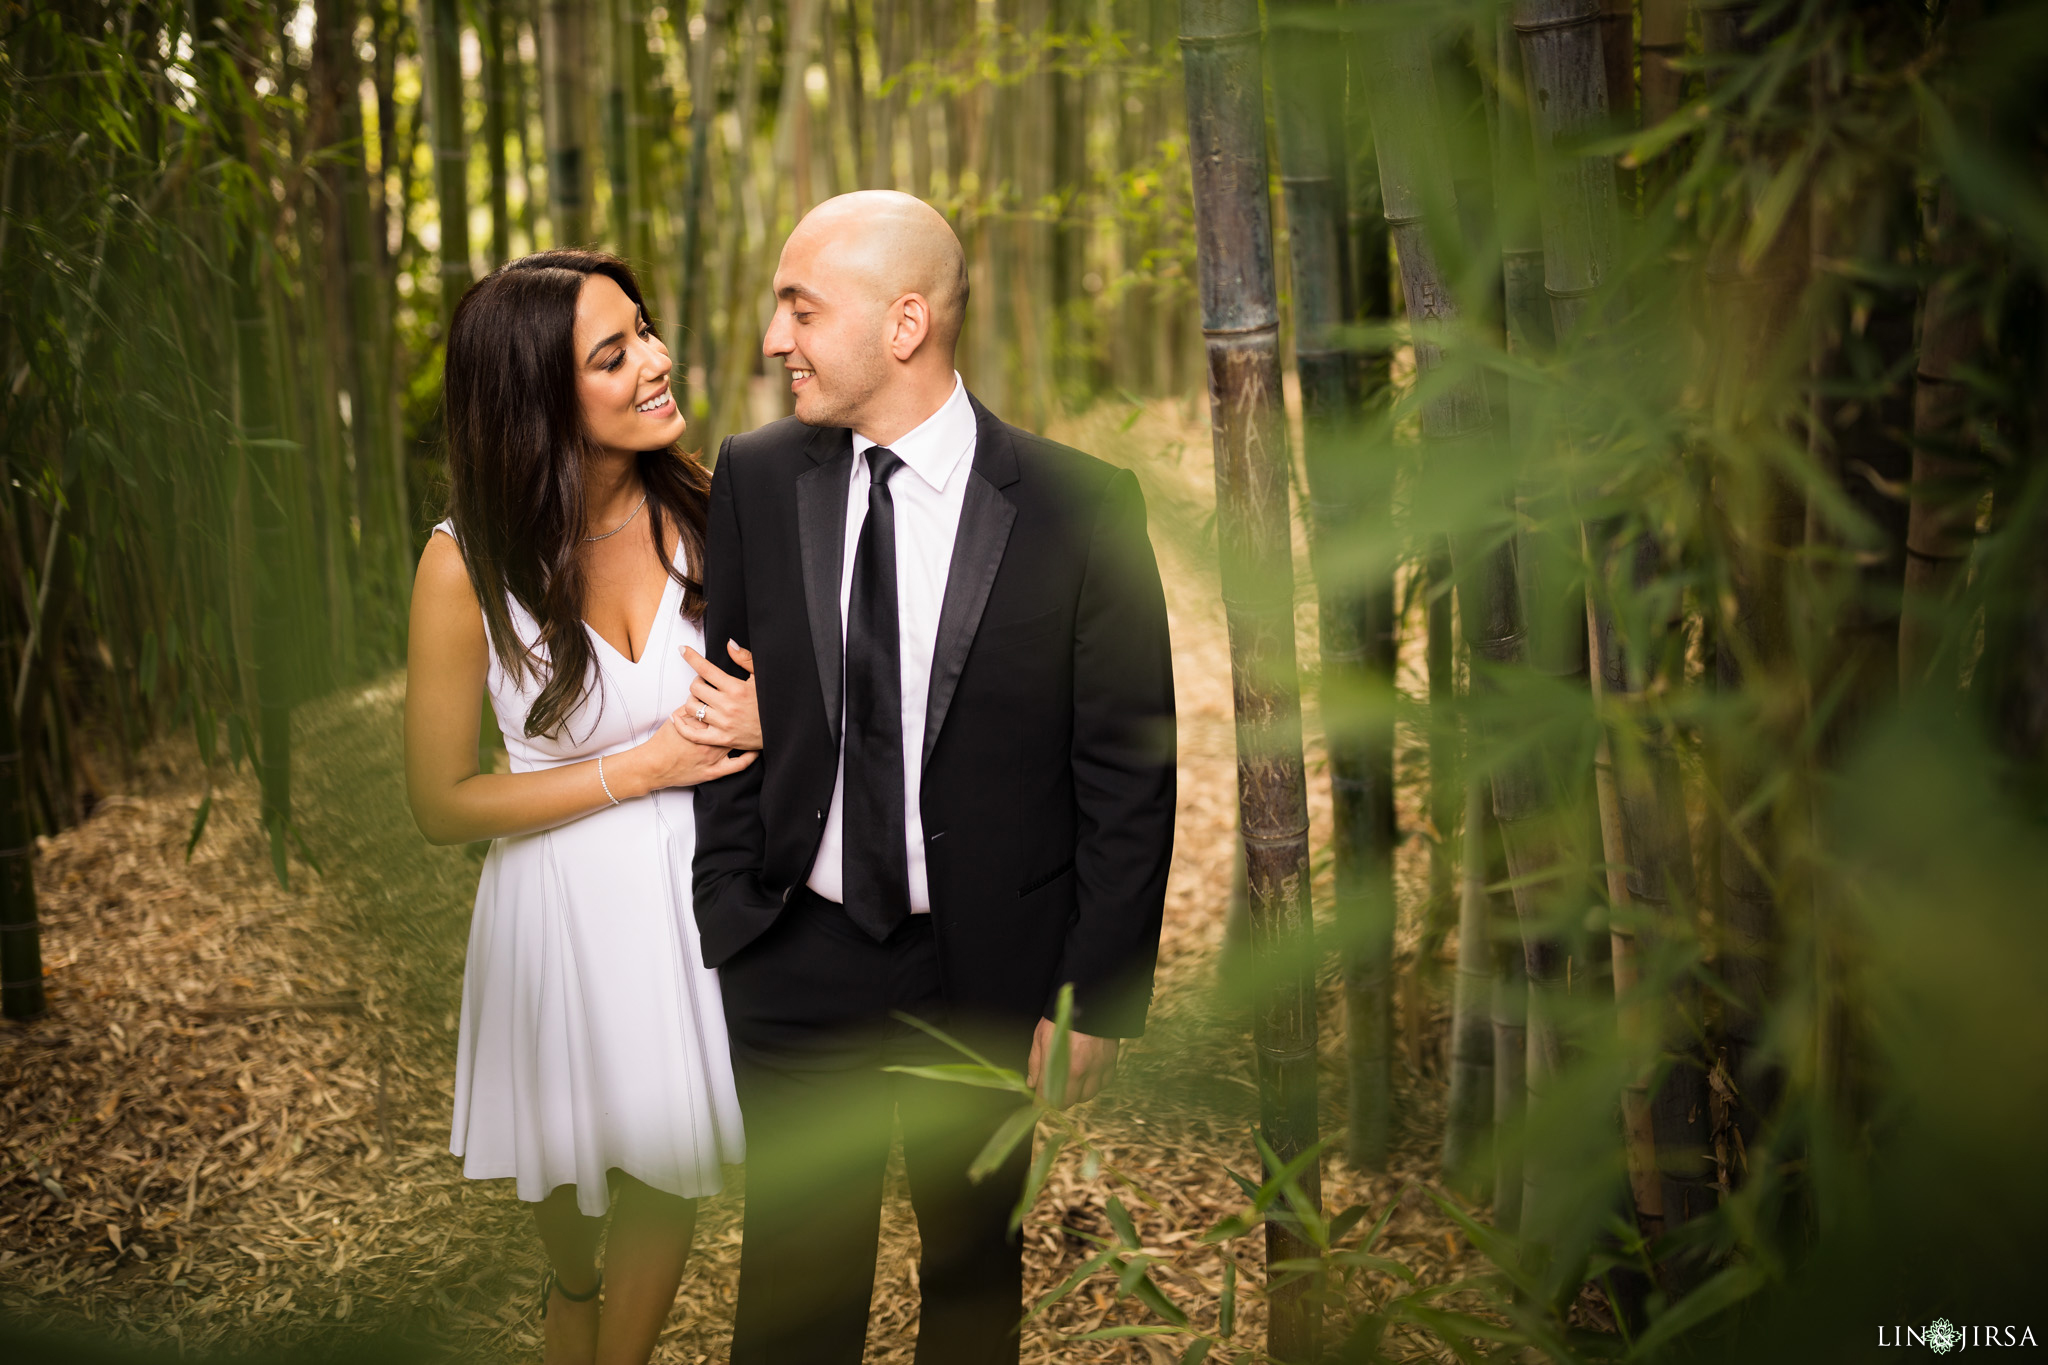
Colors: Solid monochromatic colors are easiest to coordinate, but primary or complementary colors also look great and bring energy to the photograph. Darker colors will cause the subject(s) to appear thinner while lighter colors will make the subjects appear larger. Dark pants or jeans with dark shoes give texture and visually anchor a portrait. When choosing color schemes, consider not only what looks best on you, but also what colors will look best on wall portraits and complement your home’s décor.
Accessories: Keep it to a minimum. Avoid hats, hair ornaments, and sparkly or costume jewelry unless it does not distract from the main subject, you.
Footwear: Avoid running shoes, white socks, and heavy footwear. Also, consider fashionable boots, sandals or bare feet for casual photos.
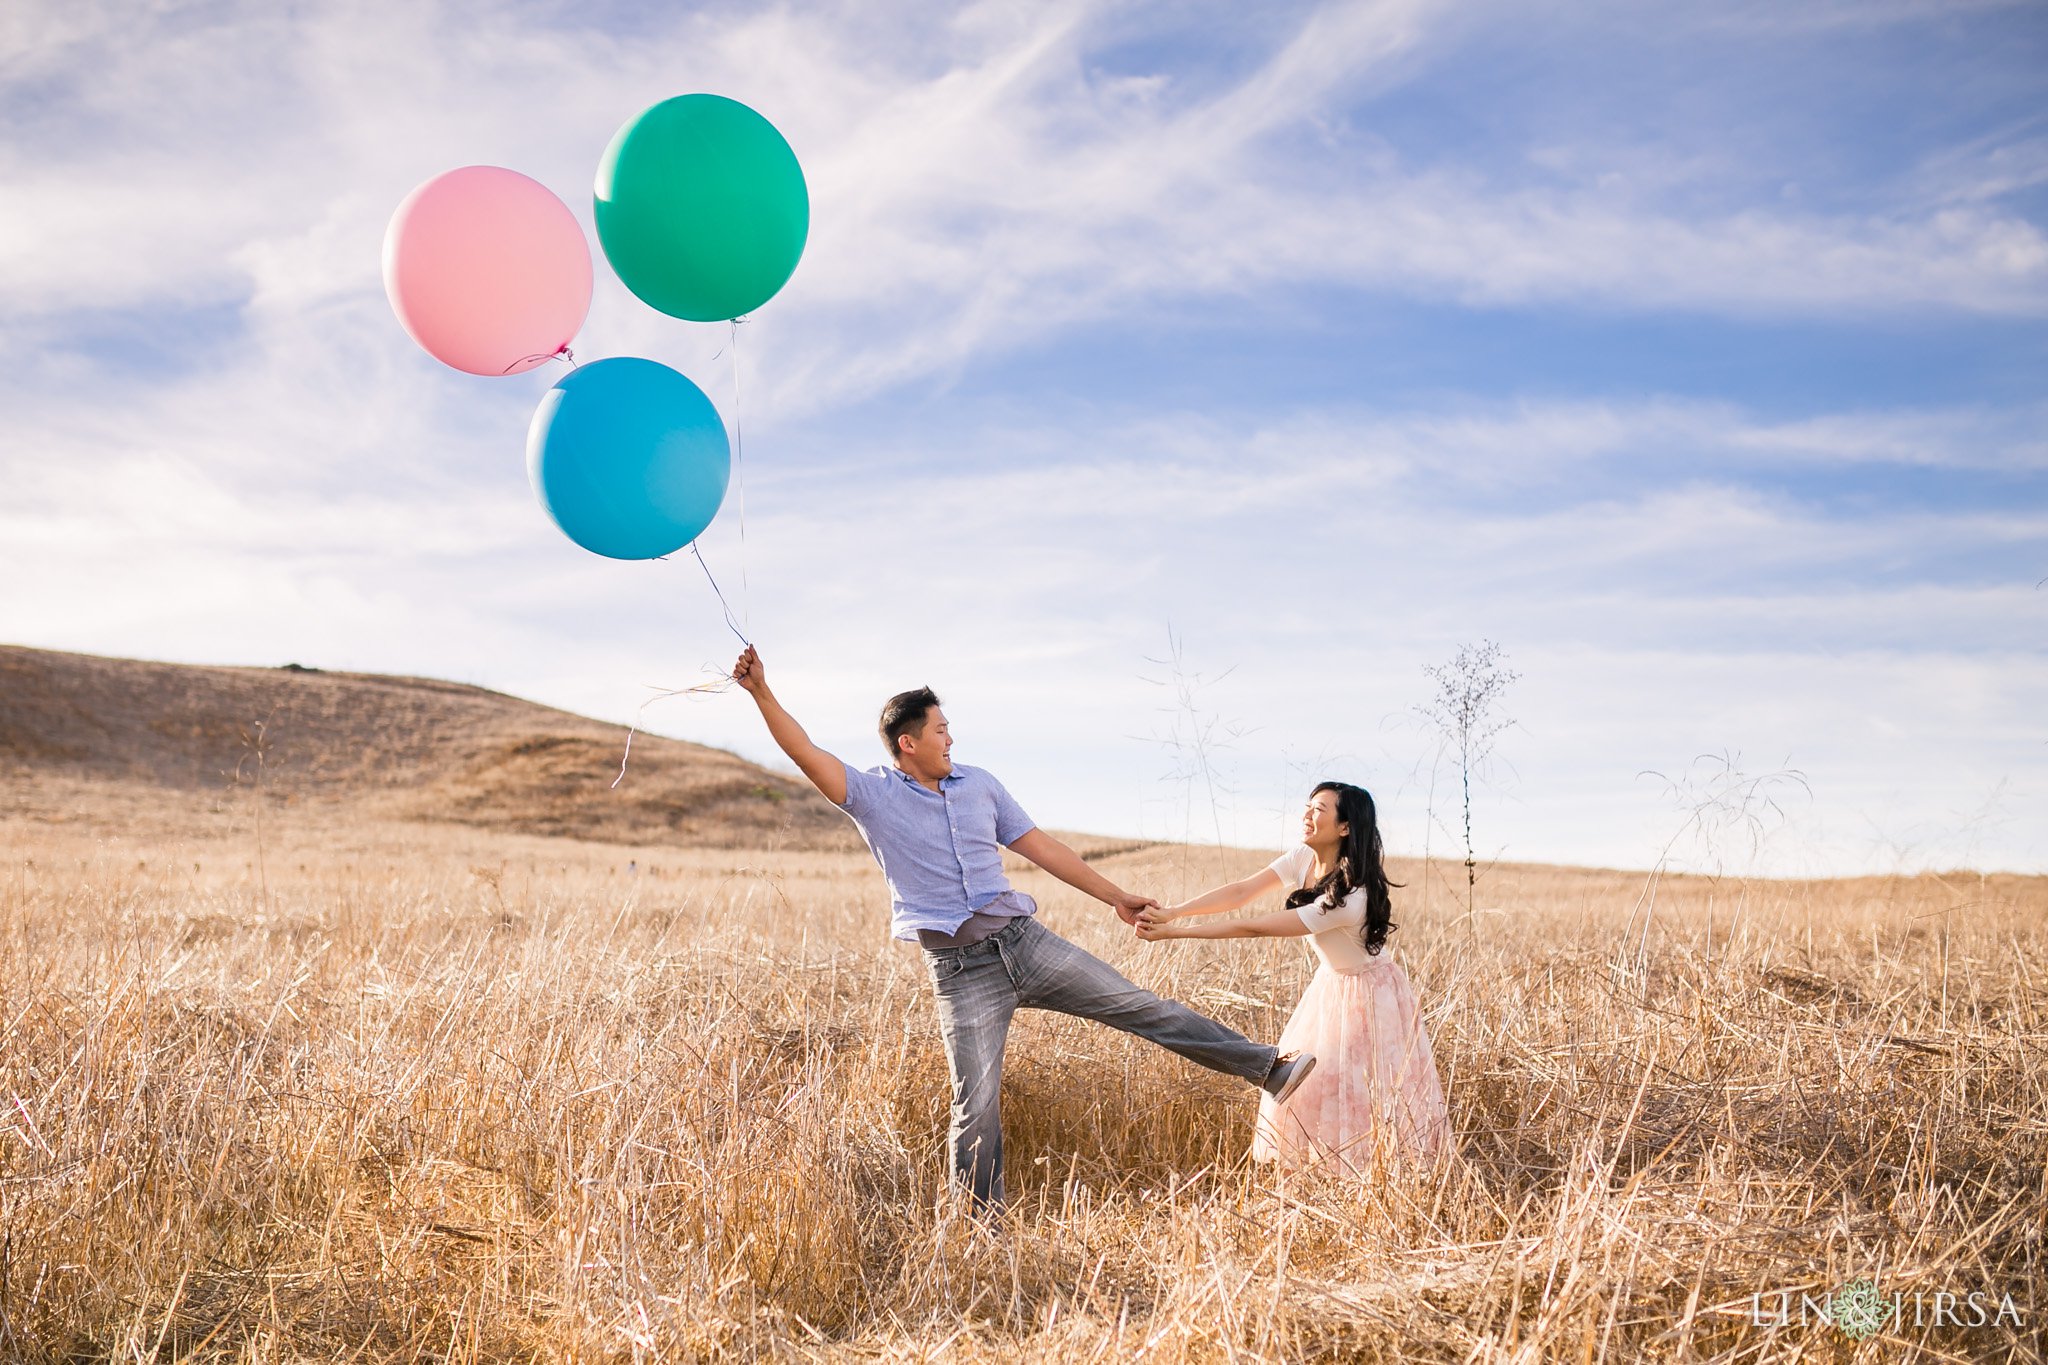
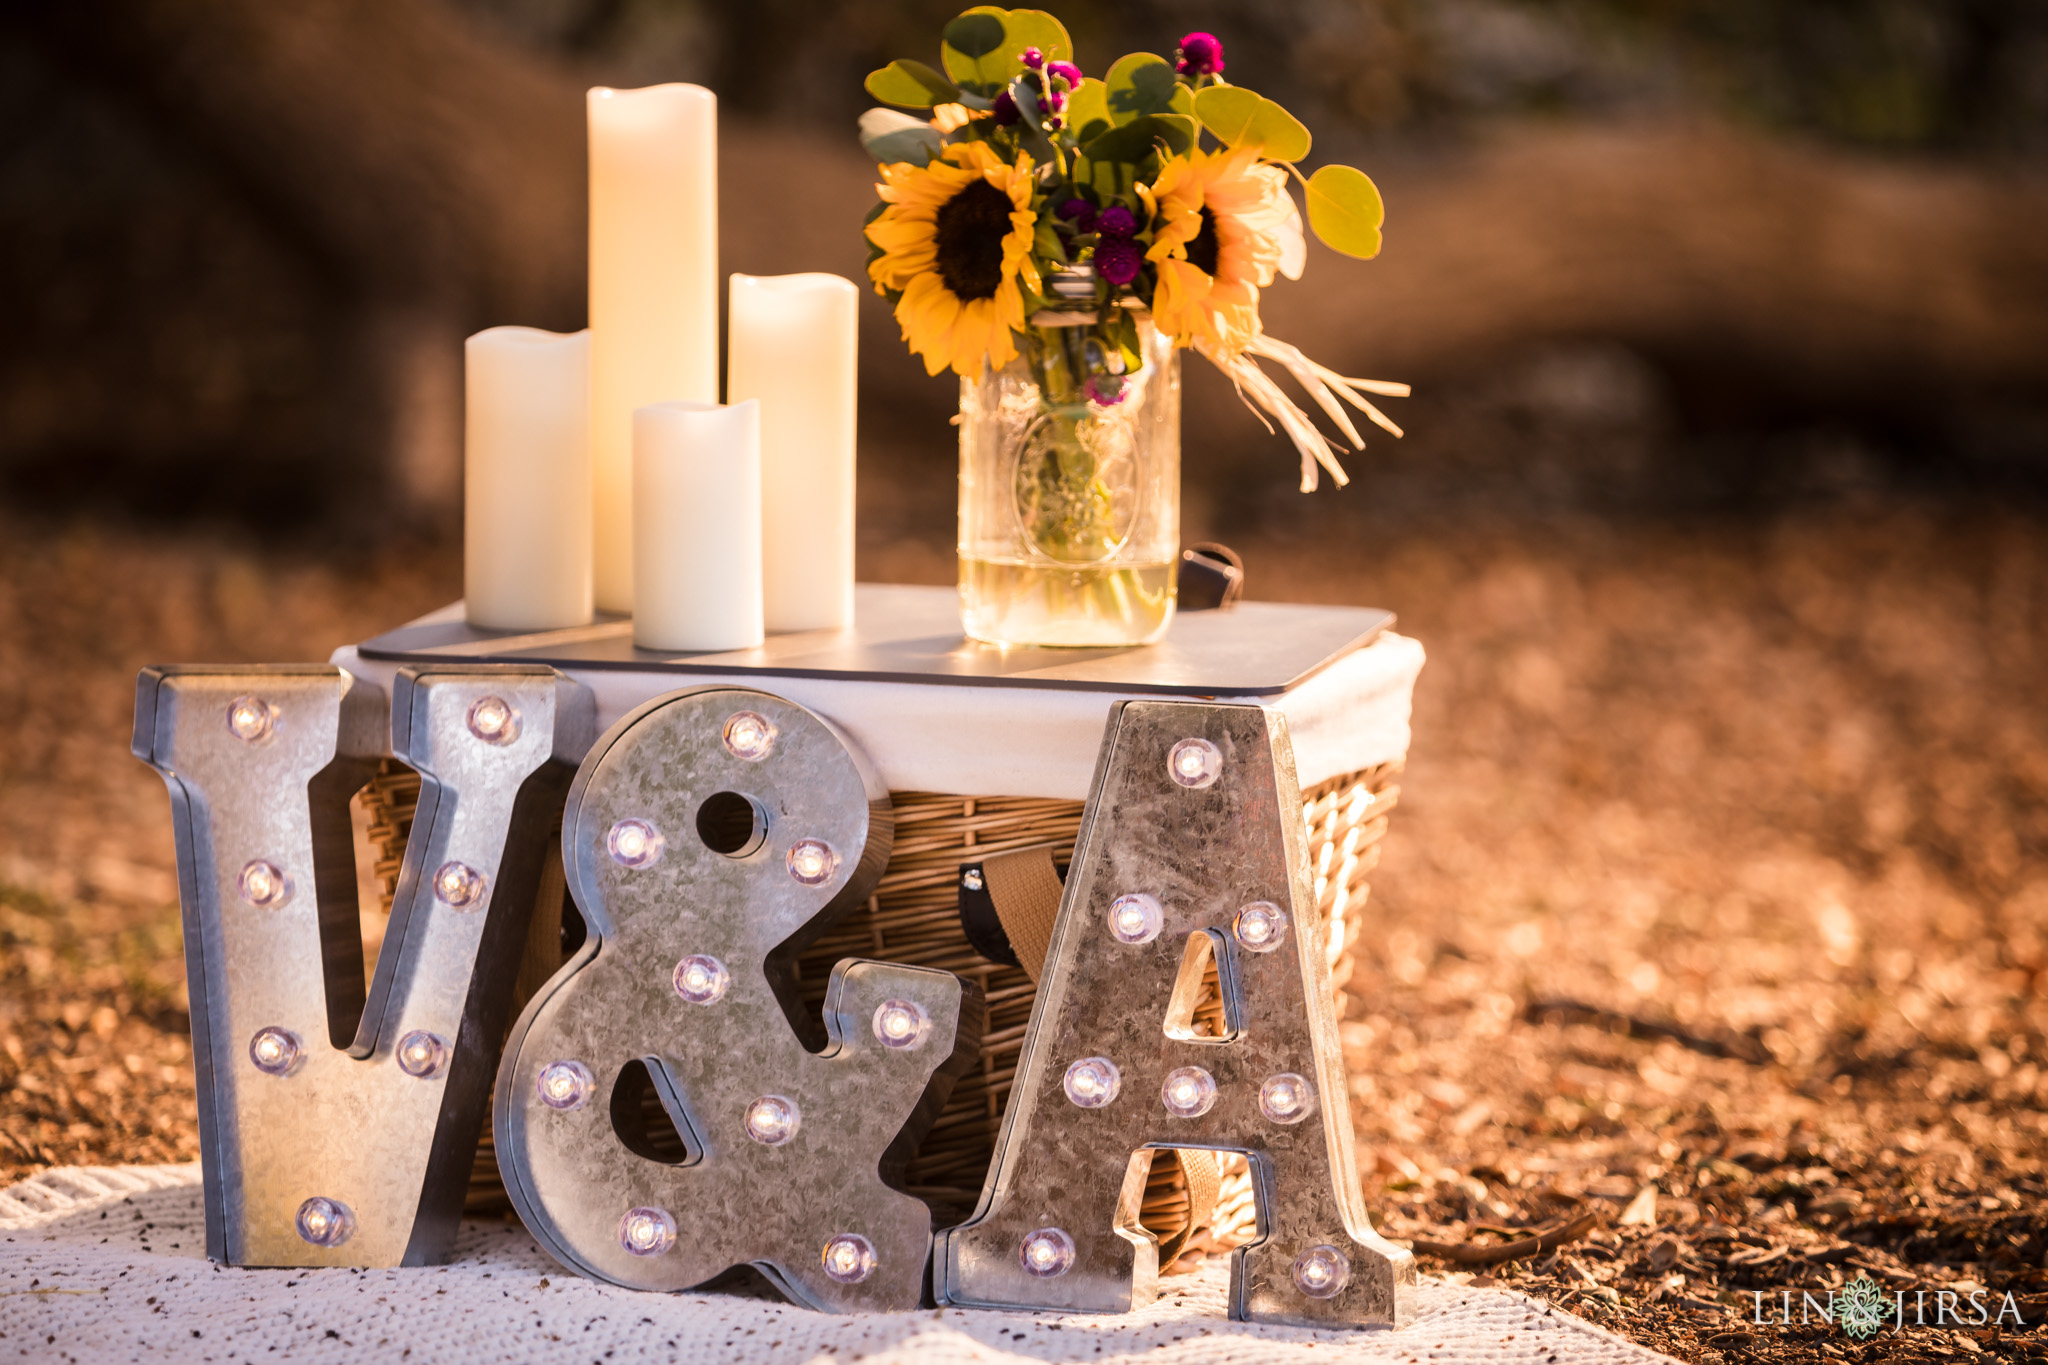
Props: Props are always a great way to help showcase your personality in your engagement photos.
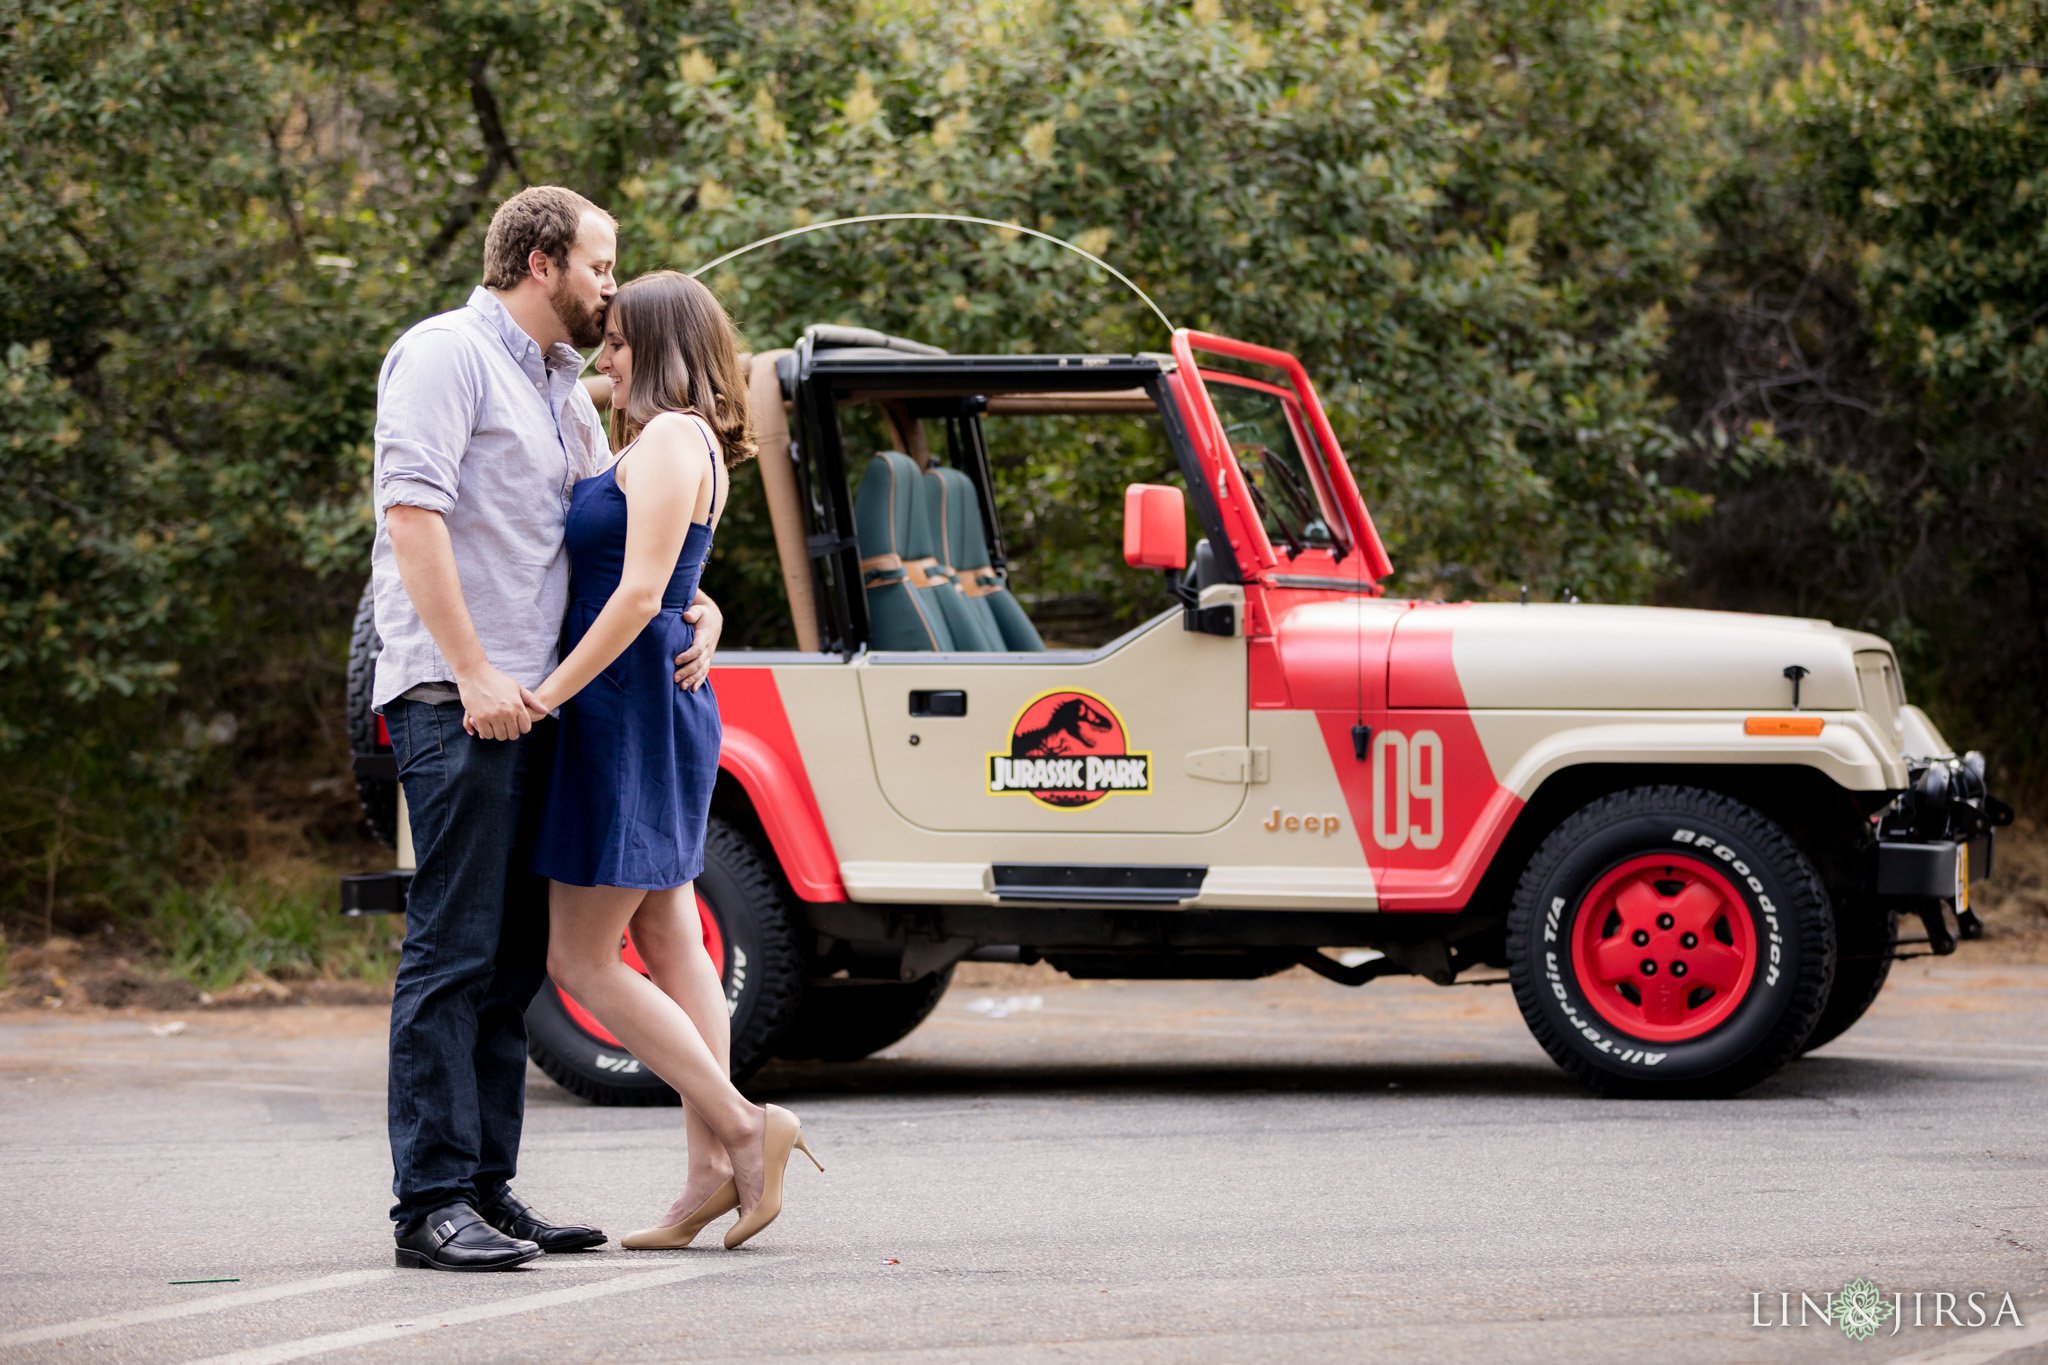

Check out some more fun prop ideas here!
In general, you should bring at least two to three different outfits to the shoot, and we can help you decide what would be most appropriate.
Makeup Guide – How To Do Your Makeup For Engagement Photos
Looking good on camera doesn’t require a makeup artist, but professional makeup tips help. Even if you prefer a natural look, the camera tends to exaggerate flaws and create artificial ones. Who needs that? These camera-friendly makeup tips focus on makeup application that enhances rather than detracts from your looks.
Makeup tips for the camera include an array of corrective and dramatic effects as well as enhancing one’s natural appearance. The key is to consider that images are two-dimensional, so shadows and highlighted areas may need to be emphasized, de-emphasized or even simulated, for the best overall effect.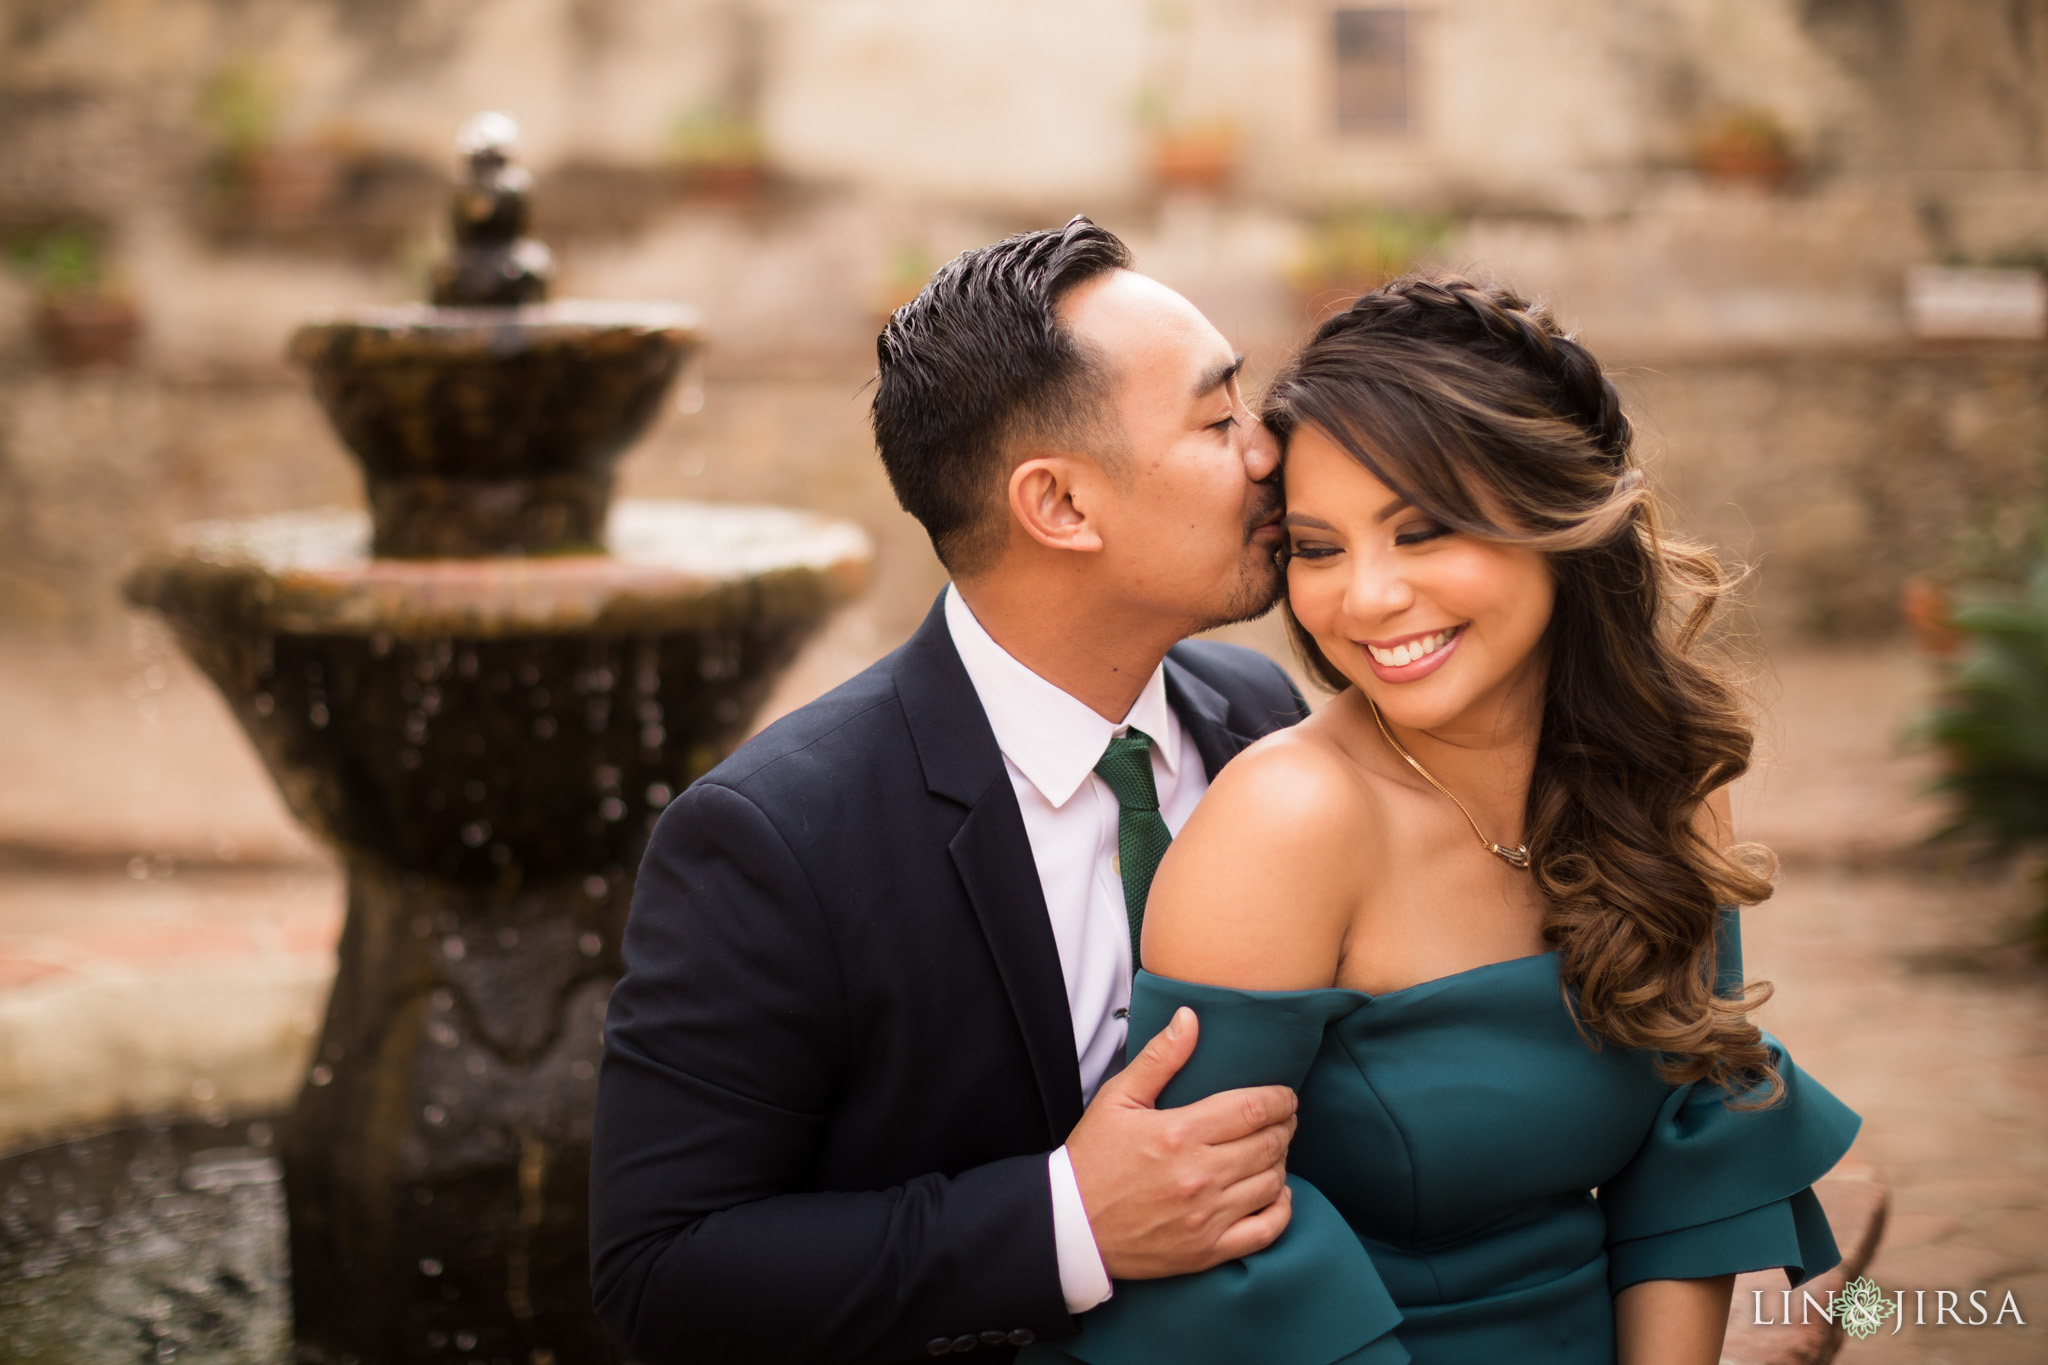
Skin, The Canvas: Before you apply makeup, start with smooth, toned and moisturized skin. If necessary, give yourself a facial or scrub treatment. This minimizes uneven or artificial-looking makeup application and promotes a healthy, glowing look.
Minimize Shadows: As photos are two-dimensional, the camera ages the subject by enhancing dark, fine lines, and wrinkles. To compensate, gently apply a lighter shade of concealer makeup to darker areas: around the eyes, crevices, and expression lines. Next, using an upward stroke, apply a light layer of foundation makeup over the face including lips. Blend makeup at the edges. Except for corrective work, use foundation makeup colors closely matching the natural skin color.
Bronze or Blush: Various makeup effects can be achieved with blush. Bronzer makeup powder is widely successful and produces a natural or lightly sculpted look, depending on its application.
To apply powder blush: blow off excess from the brush and apply gently to cheekbones and above the outer corners of eyes to the temple. For a makeup application guide, make a wide peace sign with a hand. Rotate 90 degrees towards your nose. Palms out, place the point of the “V” at your hairline and align with the corner of your eye and the bottom finger resting on the cheekbone. Focus color at or one finger below this area on the cheek, and at or above this area around the eyes. Apply a second thin layer on checks and blend lightly at edges as needed.
**Additional makeup tip: Bronzer makeup can also be applied to the sides of the nose to minimize width. And, a darker shade of blush applied under the cheekbones produces more definition.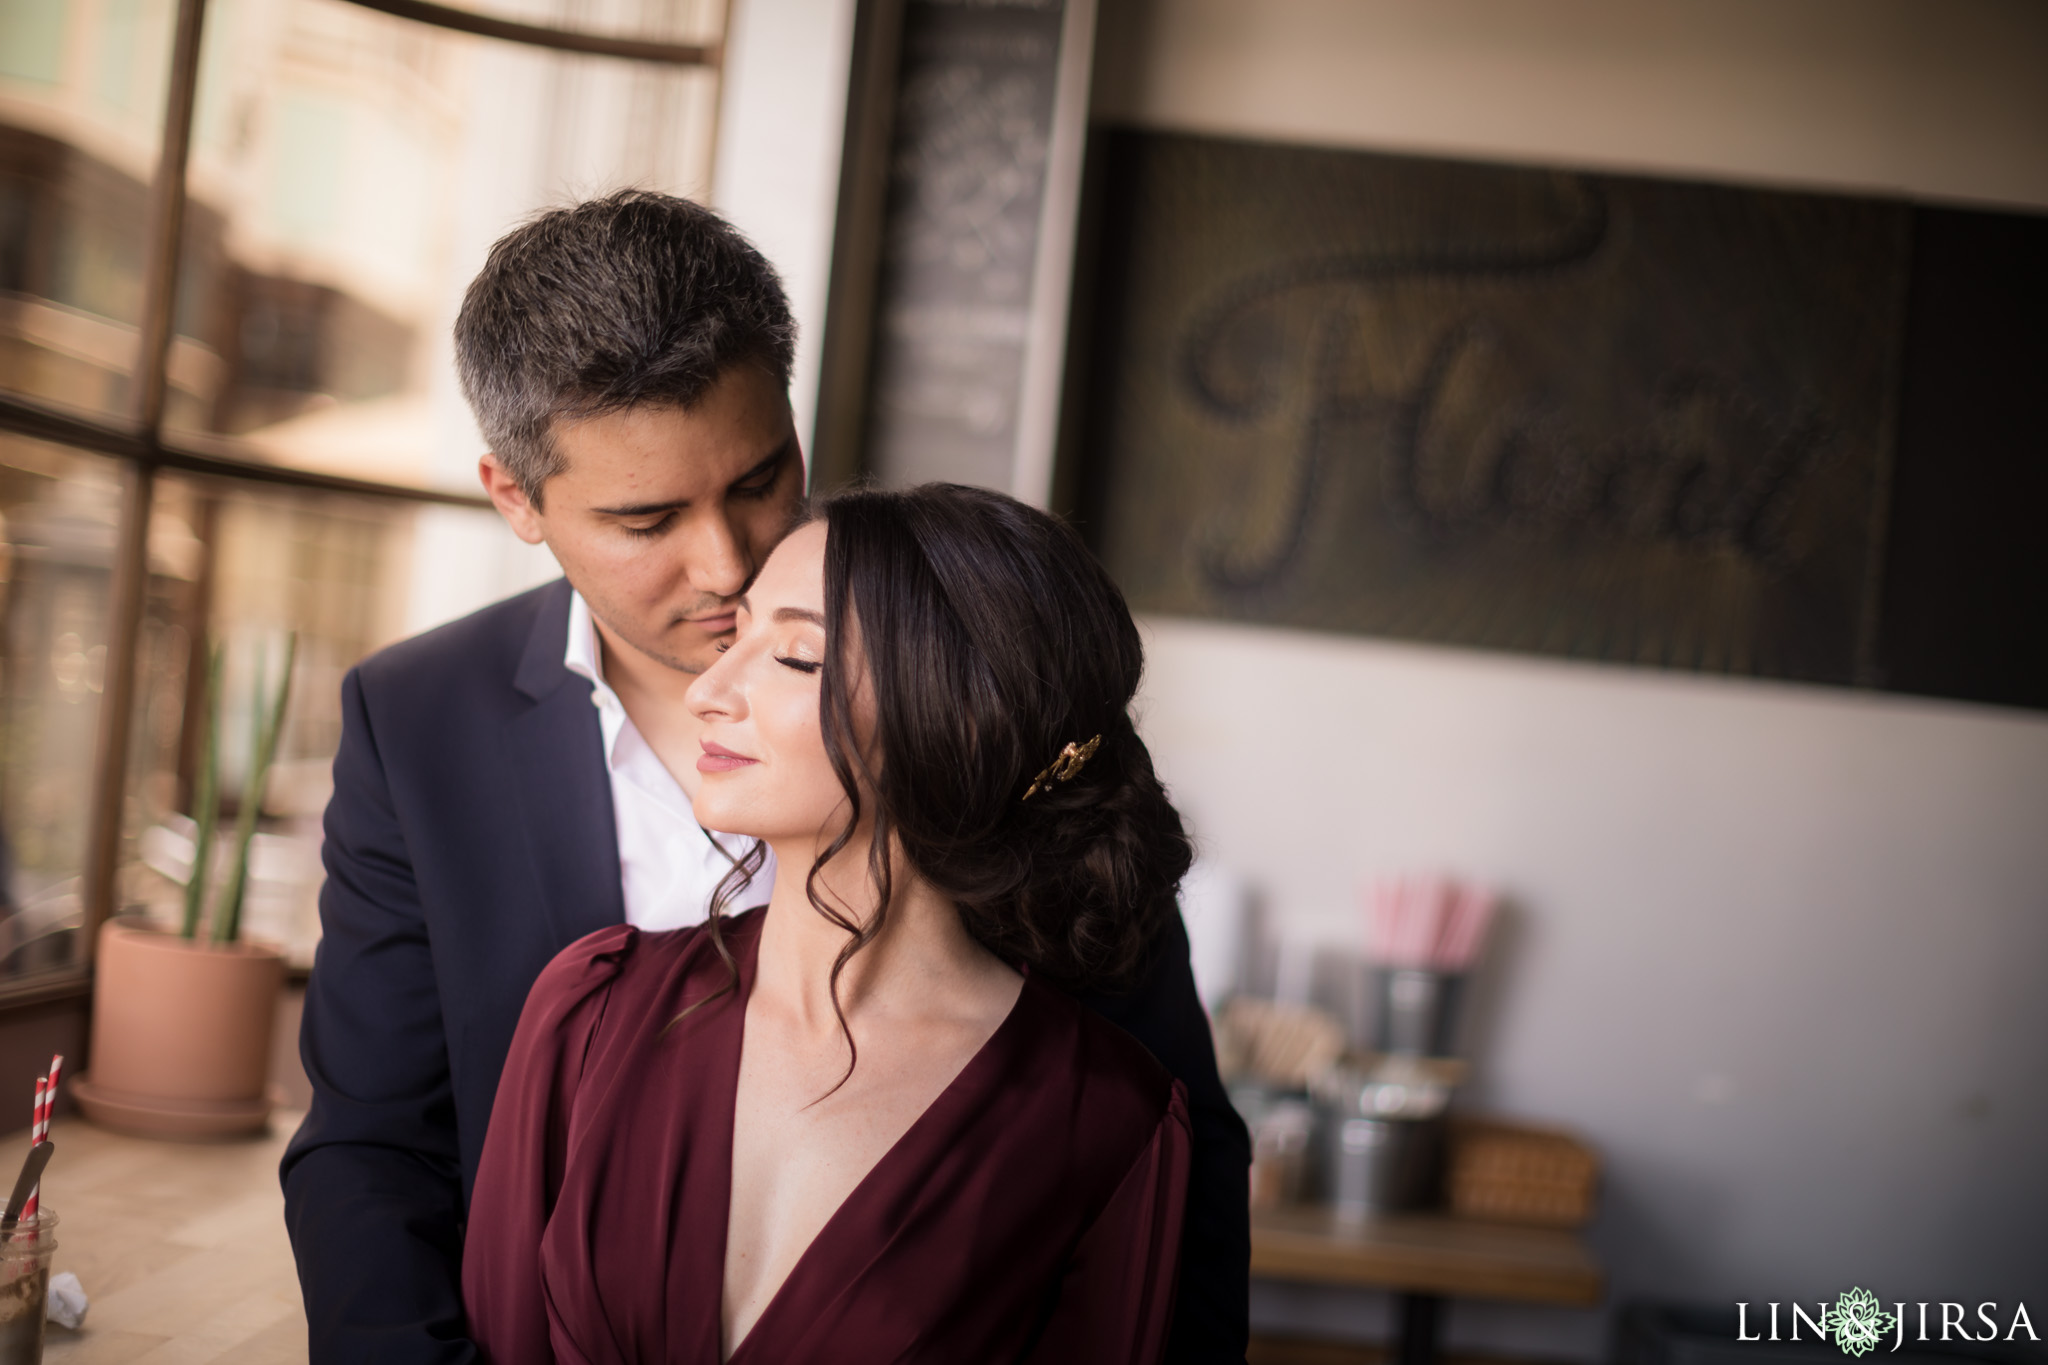
Eyes and Lines: Unless you like the look or have the eyes for it, avoid harsh lines or the raccoon look, it makes the eyes look smaller and deeper set. Try a smoky colored eyeliner pencil, and smudge a bit if necessary. With liquid eyeliner, an option is to dot the eyeliner next to the eyelash base rather than create a solid line. For a different look, limit liquid eyeliner application to the top eyelid and/or the outer corners of the eyes. Smoky eye shadow applied above the eyelids and blended with the outer corners of the eyes also creates a desirable effect; a highlighted brow area enhances this effect.
**Additional makeup tip: To soften lines, lightly wipe the lid and brow area once or twice with a powder makeup brush dipped in light pink blush.
Lips: Most lips benefit from definition, even when lipstick is not generally used. For a natural but polished look, try a shade or two darker than your lip color, apply lip pencil, smudged lips a bit and use a little gloss or lipstick.
**Additional makeup tip: Apply a lighter lip color or gloss only to the center of lips to enhance a pouty look.
Powder: When Not to Shine – Apply a light dusting of translucent powder over your face to avoid shine and set makeup. Concentrate on the T-zone as necessary, and apply sparingly to lined or dry areas.
Eyebrows: Before applying makeup ensure that the eyebrows are properly shaped as they affect facial expression. For a guide, align a pencil vertically along the edge of nostril and inner corner of the eye. Do the same for the outer corner of the eye. This makes a good start and endpoint for the eyebrow. If the eyebrow arch needs help, align the pencil with the edge of the nostril and the outer edge of the iris to determine the highest point of the arch. Tweeze stray brows outside these areas and use an eyebrow pencil for even more definition. However, it is best to avoid significant tweezing just prior to applying makeup.
Red Eyes: To brighten the whites of the eyes and minimize redness line the inner lower eyelid with a light blue eye pencil.
About Lin & Jirsa
Creative. Clean. Different. We are a group of creatives in Orange County with a passion for storytelling. Founded in 2007, our studio has been recognized as the best wedding photographers in Los Angeles and Orange County by various publications, websites, and groups. We’d love to show you our studio in Orange County, California and walk you through our albums, canvases and other print photography products. We can also provide more information on our Wedding Videography and introduce you to our team